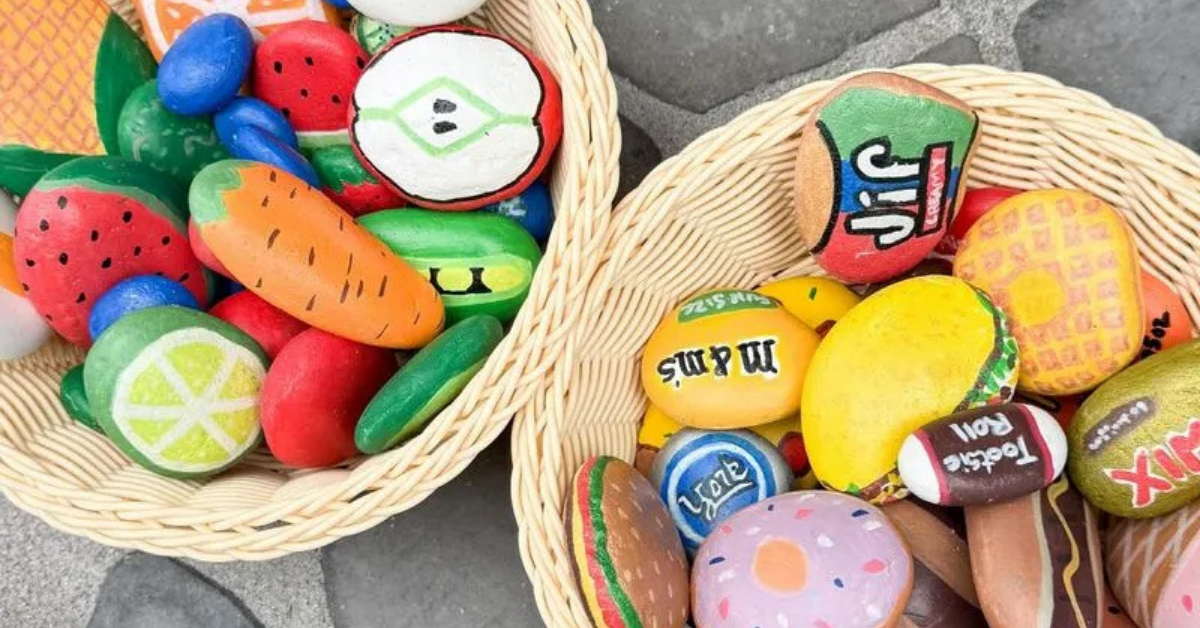
Painted Rock Food for a DIY Mud Kitchen
I’ve spent the last few weeks putting together a mud kitchen for my kiddos, and it’s been such a fun project! One of my favorite parts was this simple little DIY that anyone can do, mud kitchen or not: painted rock “food”. You only need a few supplies, and it can be as simple or detailed as you want. Here’s everything you need to know, including how to make them, the tools that help them hold up outside, and some inspiration to get you started!
Note: This post contains affiliate links. I may earn a commission at no extra cost to you. Thanks for supporting my content!
Supplies:
- Rocks
- Colorful Acrylic Markers
- Glitter Acrylic Markers
- White Acrylic Markers
- Primer Spray
- Polyurethane Spray
Step #1: Clean
First up: grab some rocks from your garden, or turn it into a little activity and send the kids on a scavenger hunt for the right ones. Then give them a quick rinse and let them dry completely. If you don’t have smooth rocks on hand, these are a great option!
Painted Rock Food Step #2: Prime
Once the rocks are fully dry, give them a coat of spray primer. Because they’ll be living outside, the primer helps the acrylic paint last longer.
Step #3: Paint
Now for the creative part! I had so much fun browsing Pinterest for food ideas. I used these acrylic paint markers, and these glitter ones and white detail markers are great for the finishing touches. Here are a few of mine for inspo!
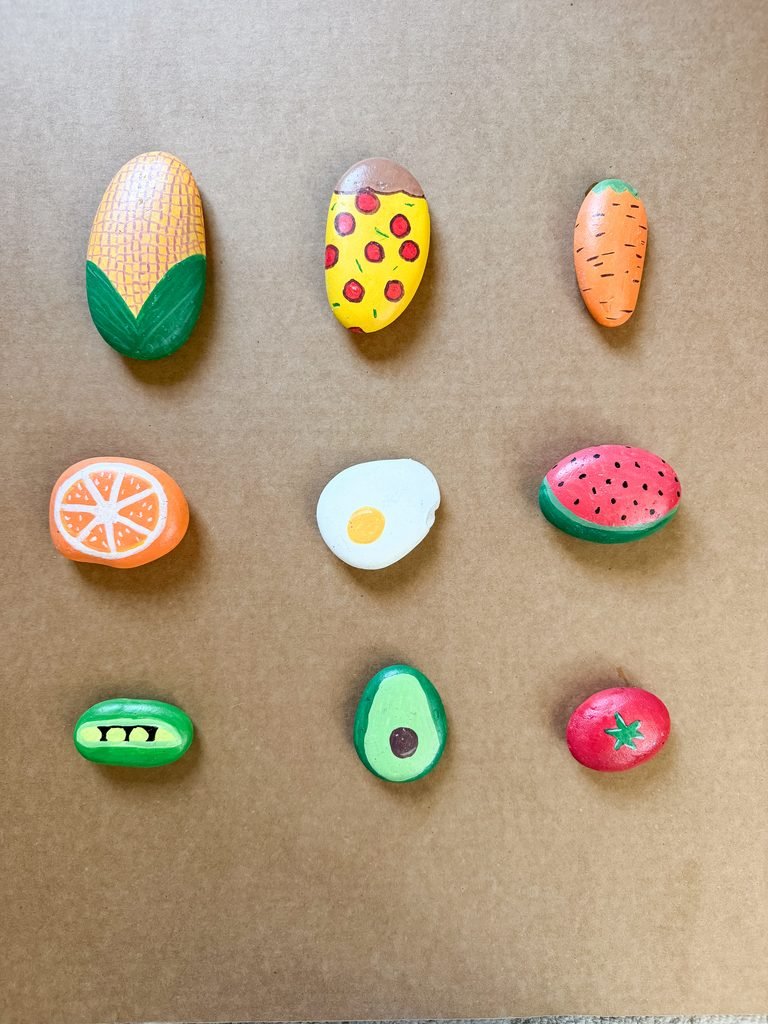
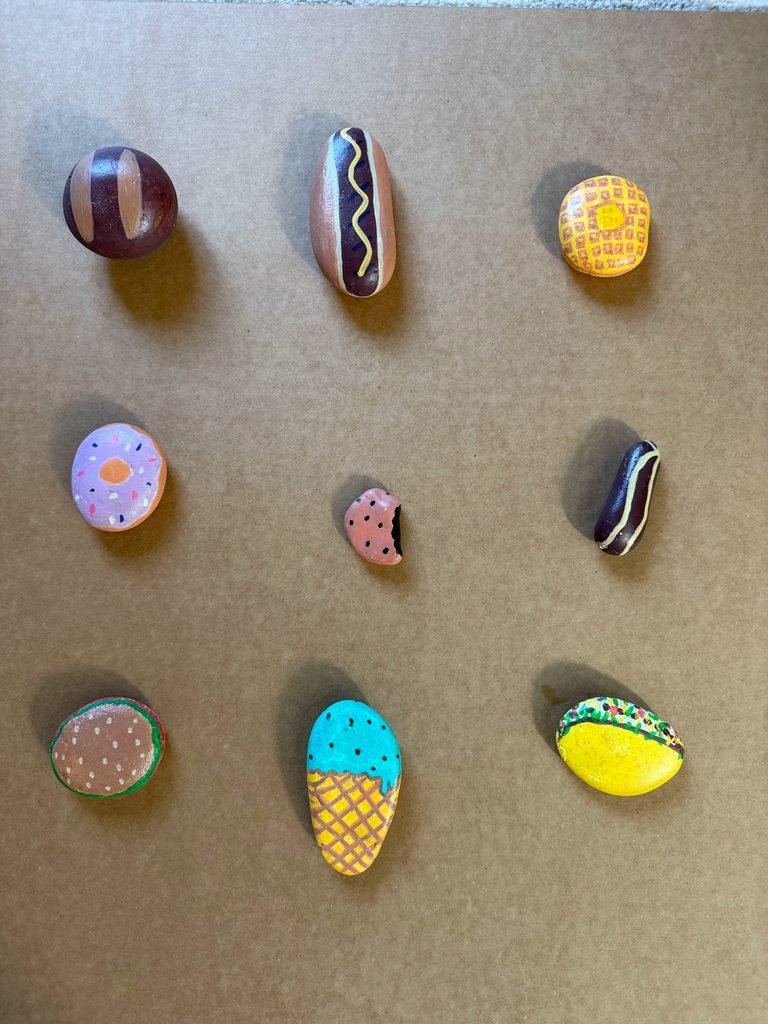
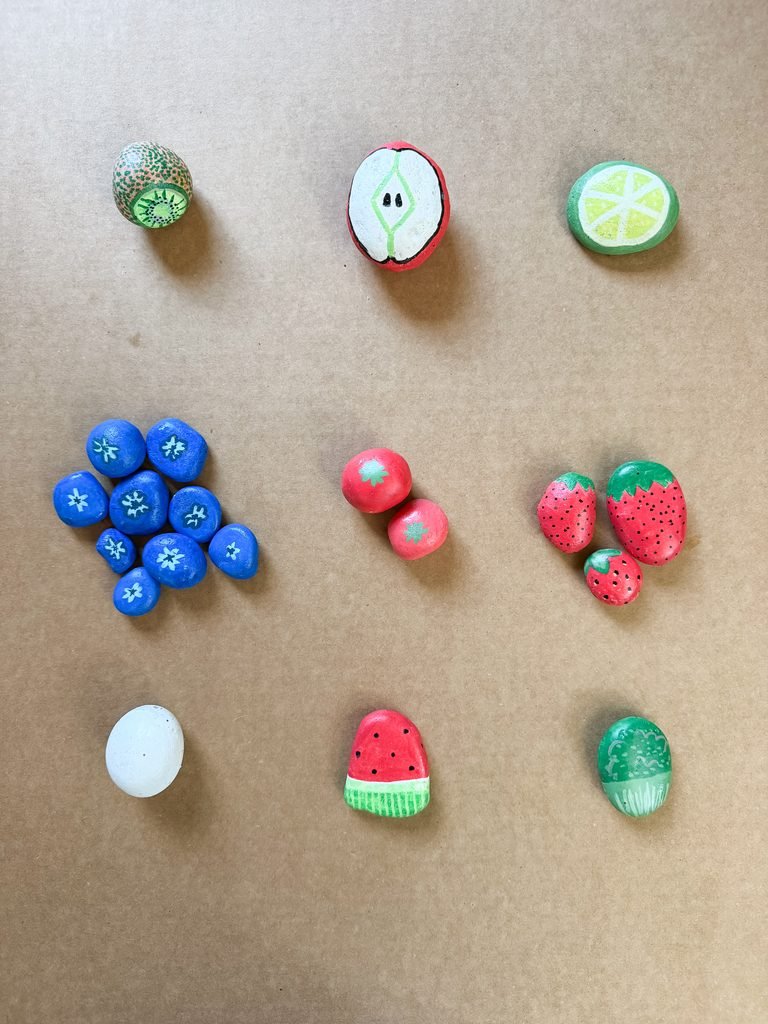
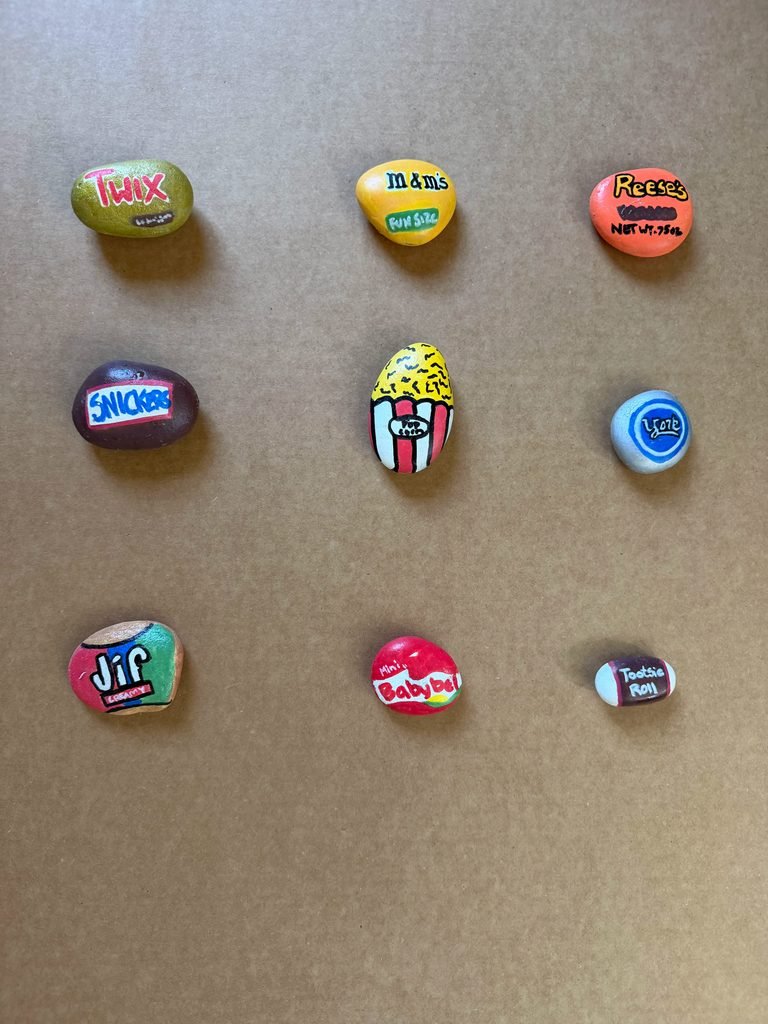
Painted Rock Food Step #4: Seal
Don’t skip this step! Last up: a coat of polyurethane spray to seal everything in and help the rocks hold up through weather, dirt, and all the other things that come with being part of a mud kitchen. Spray, let them dry, and you’re done. Now your painted rock food is ready!