5 Ways to Make Old Hardware Look New Again
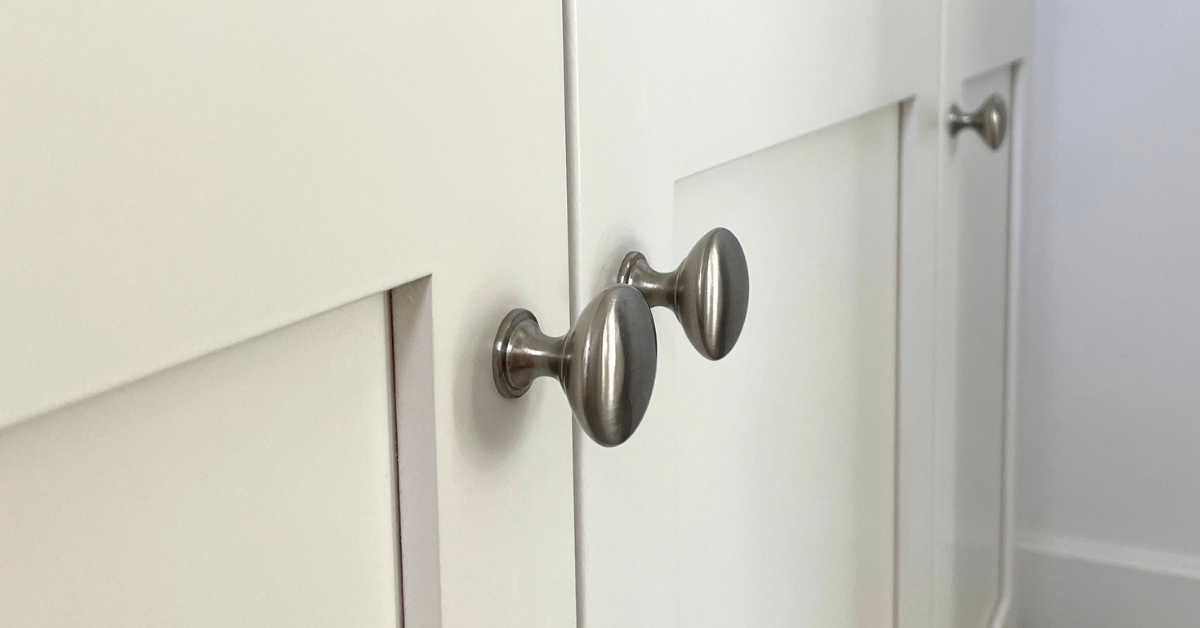
Hardware: the small but mighty design feature that can totally change the feel of a room. A couple of months ago, I shared a post on how to choose new cabinet hardware. But since we’re fresh off a trip to the Oregon Coast, and we visited a ton of amazing antique shops while we were there, it got me thinking of ways to refinish the hardware you already have. Because there are so many ways to make old hardware look new again. And the best part: they’re all budget-friendly!
Note: This post contains affiliate links. I may earn a commission at no extra cost to you. Thanks for supporting my content!
How to Make Old Hardware Look New Tip #1: Deep Clean, Polish, and Tighten
We’re starting simple, but don’t underestimate this step!
How to Deep-Clean Hardware:
- Remove hardware completely.
- While it’s off, tighten any loose screws and check that the mounting is secure.
- Soak in warm, soapy water for 15-20 minutes to loosen grime.
- Gently scrub with a toothbrush to get into crevices. Avoid abrasive scrubbers on coated hardware, because it can scratch the finish.
- For brass or copper: a paste of equal parts flour, salt, and white vinegar works as a natural polish – but try it on an inconspicuous area first! Once you’ve tested it, apply it to the rest of the hardware, let it sit a few minutes, and rinse.
- Dry completely before reinstalling.
Years of dust, grime, and fingerprints can dull how beautiful hardware already is! Sometimes a good clean is all it needs to feel like new again. If you’re happy with how things look at this point, you’re done! If not, keep reading.
How to Make Old Hardware Look New Tip #2: Rub ‘N Buff
Rub ‘n Buff is seriously like magic! I’ve used it on sconces, clay stocking tags, and, of course, hardware. In the latter’s case, I used it to make brand-new hardware look less brassy. But it also works to revive older knobs and handles. To use it, make sure you’re starting with a clean base, then just follow the instructions listed on the package.
A Few Tips:
- I like to finish Rub ‘n Buff projects with some polyurethane to help protect the finish. Since hardware is handled often, this extra step will help keep it looking as good as new.
- The finish is buildable, so you get to decide how intense you want the color to be.
- Rub ‘n Buff is a great choice for ornate hardware where other techniques like spray paint could fill in the details. Speaking of…
Tip #3: Spray Paint
For simpler hardware, spray paint is still a great option! It’s fast, easy, and the transformation can be incredible.
It’s also good for hardware that’s scratched or discolored. I’ve spray-painted both our kitchen sink fixtures and the shower faucet, and it’s held up really well, even with water and daily use. So just imagine how great this is going to look on hardware!
How to Spray Paint Hardware:
- Follow the steps in tip #1 to clean it.
- Once it’s dry, sand it lightly so the spray paint will stick better.
- Spray in thin, even coats. 2-3 light coats are better than a single heavy one.
- Let it dry fully before reinstalling.
How to Make Old Hardware Look New Tip #4: Swap or Add a Backplate
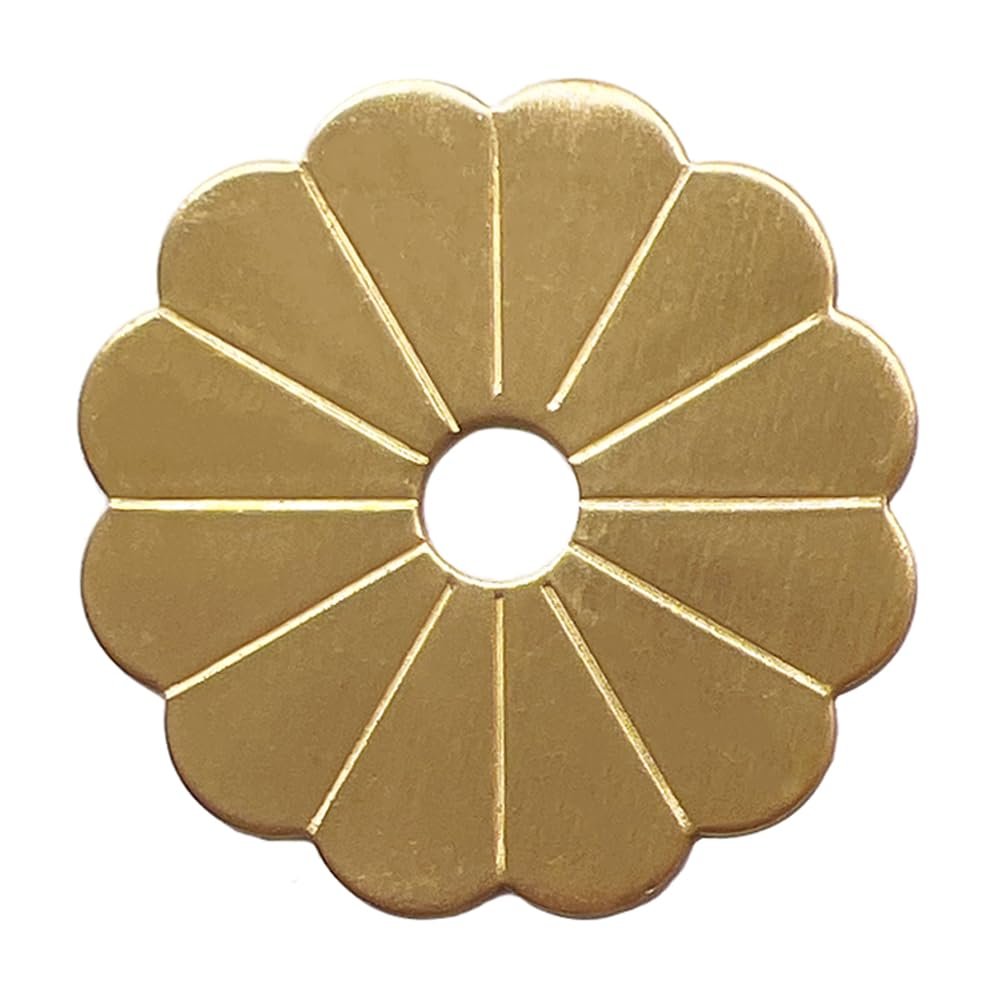
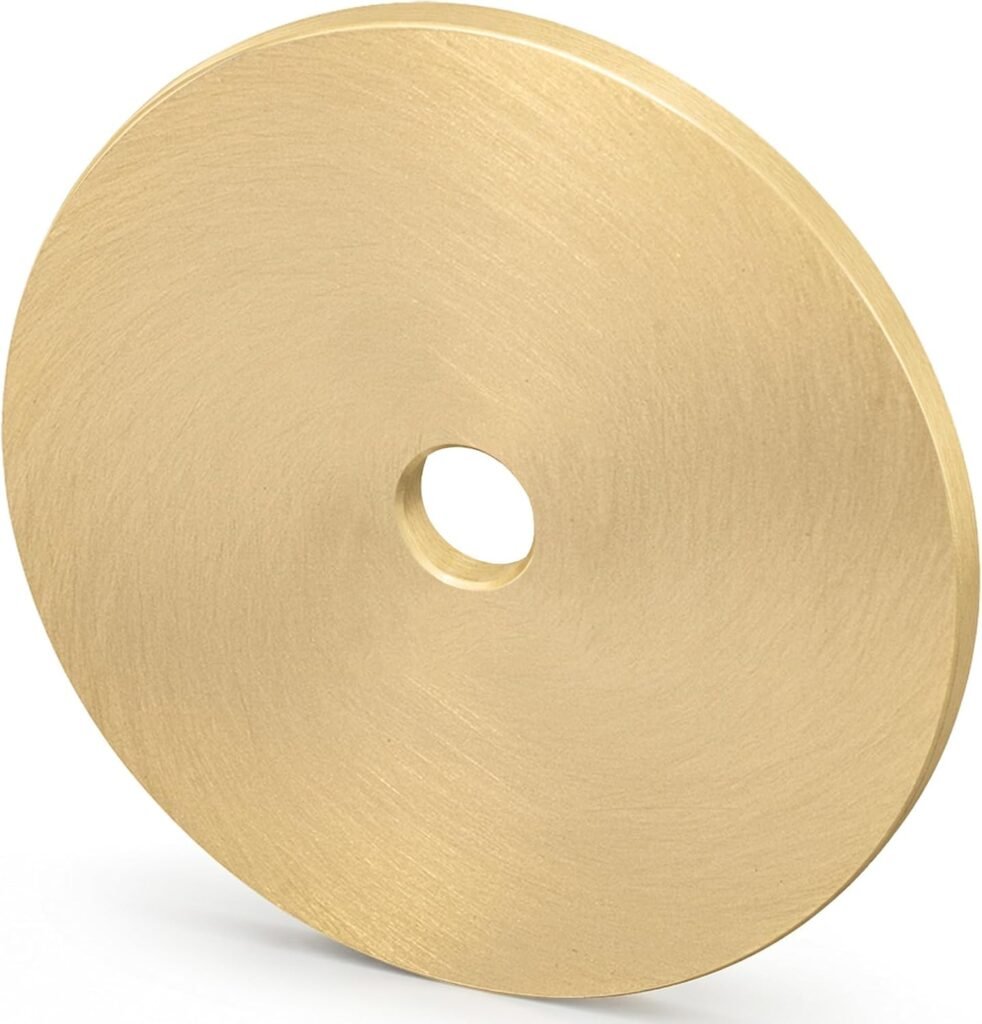
A fresh backplate can give hardware a more custom, expensive look for a low cost (which we love)!
Adding a backplate is also a good way to cover old screw holes if you’re switching hardware placement, or to hide marks on the cabinet surface around the hardware. Easy, budget-friendly, and high-impact? Sold.
Here are a few styles depending on the look you’re going for. Tap each image for the link!
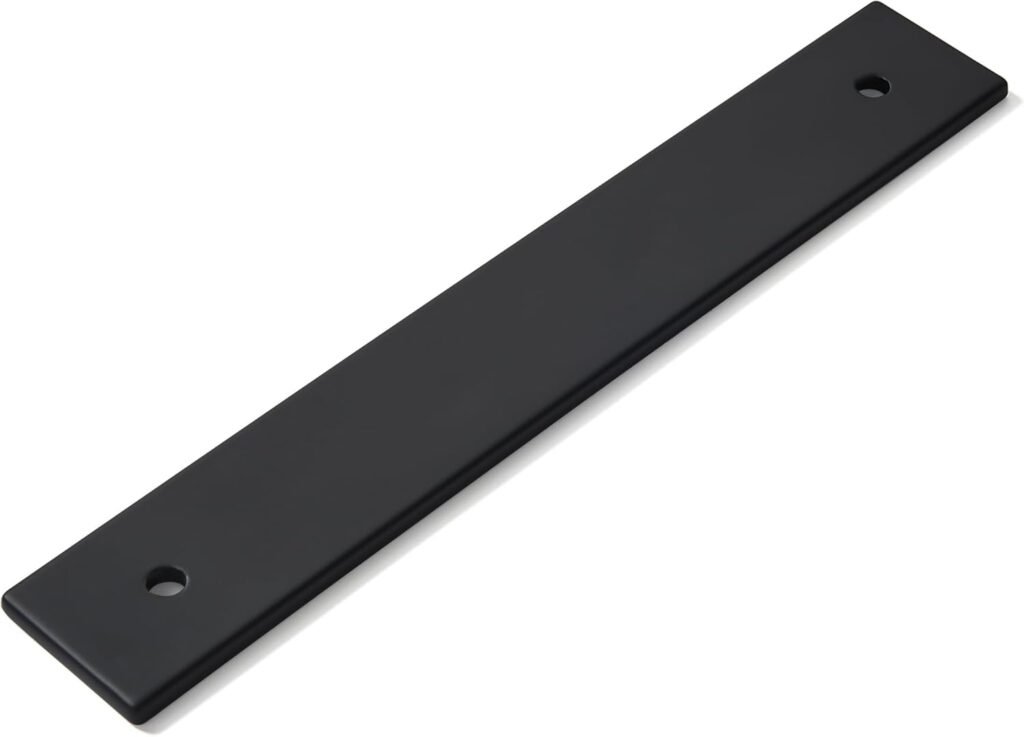
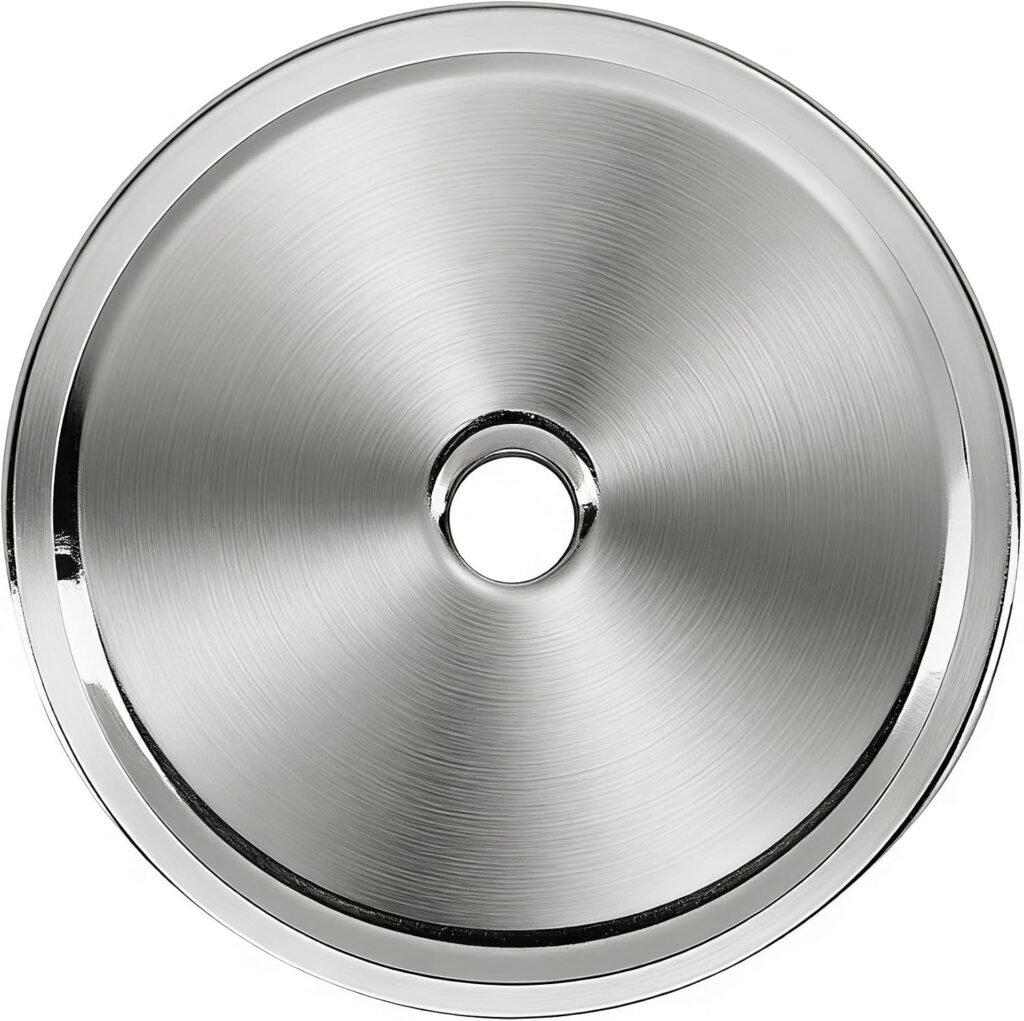
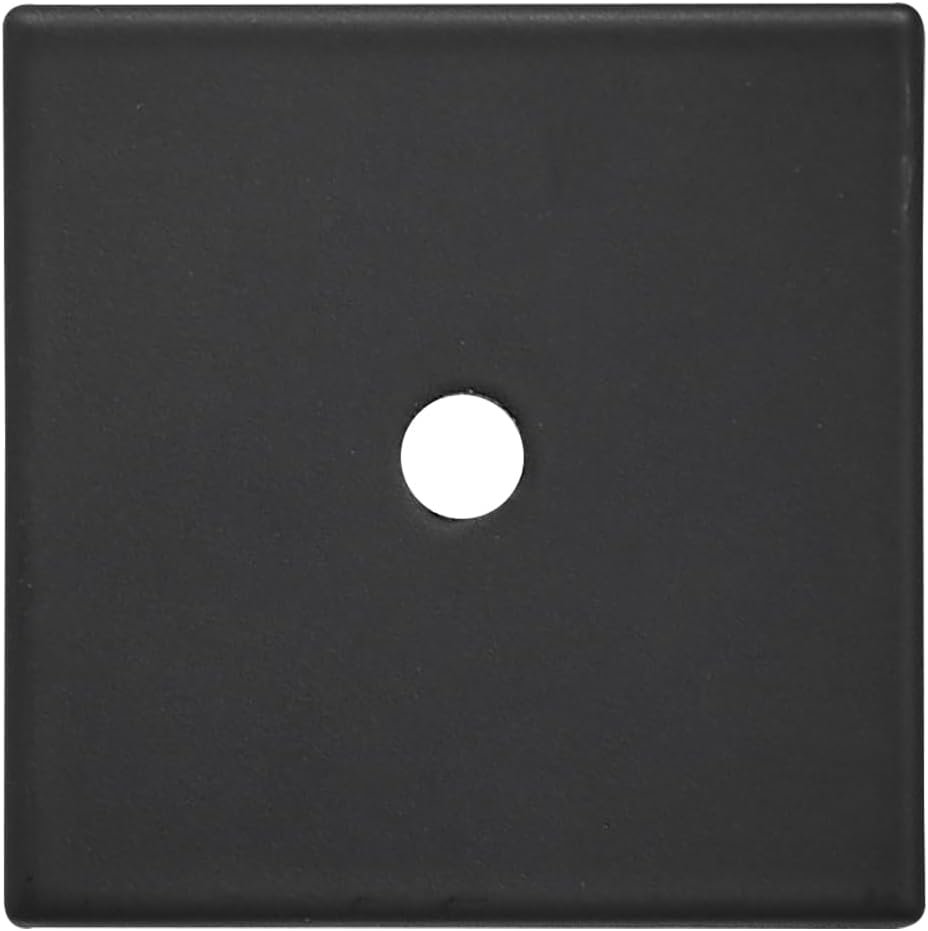
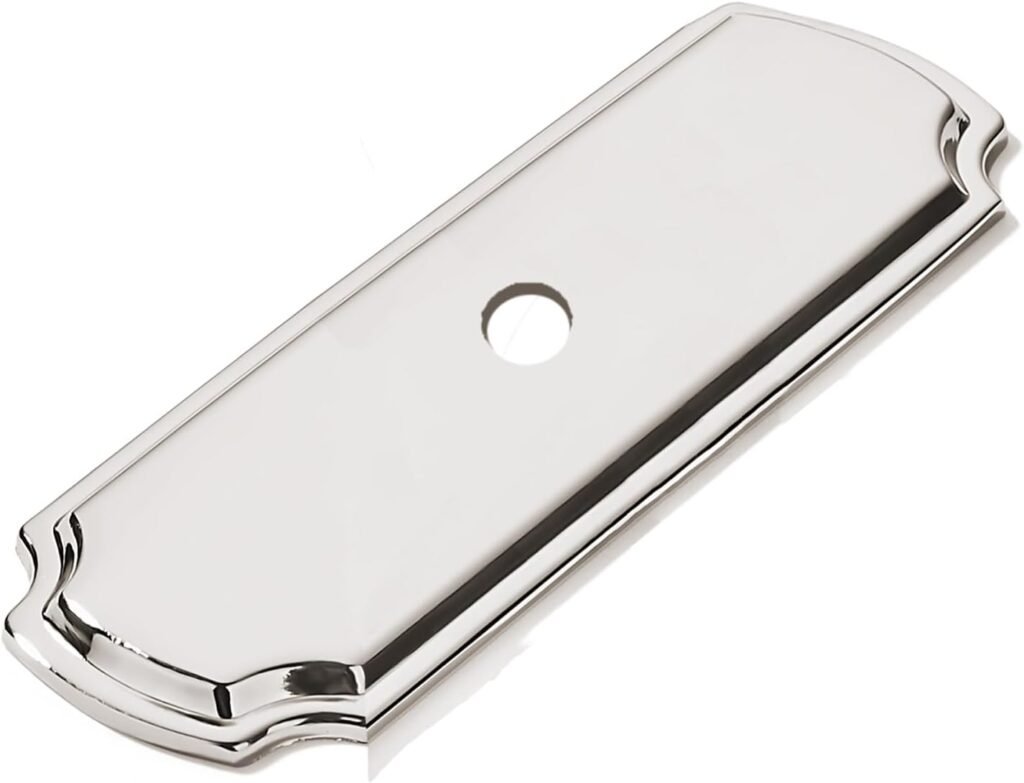
How to Make Old Hardware Look New Tip #5: Gilding Wax & Metallic Leaf
Okay, so this last one won’t necessarily make hardware look new, but it will give it an updated look. While Rub ‘n Buff has an understated metallic finish, gilding wax and metallic leaf lean more decorative – think statement piece! It’s a great choice for a dresser or hutch where the hardware is meant to be noticed.
You have two options here depending on the look you’re going for:
For a slightly more subtle metallic sheen, go with gilding wax. Just apply a small amount with your finger or a brush, buff it out, and you’re done.
For a more dramatic effect, apply a gilding adhesive, then while it’s still tacky, press metallic leaf on top. Last, brush off the excess with a soft dry brush once it’s dry. This kit has all the supplies in one!
One thing to know going in: metallic leaf is delicate and a little unpredictable. It wrinkles, tears, and goes where it wants to go. Just work slowly and don’t stress about making it perfect!
What hardware are you going to update first?
My mind is already spinning with ideas! I’m planning on redoing the kids’ bathroom soon, so that’s probably where I’ll start.
It’s so empowering to know that if you don’t like something about your house, you can change it yourself! That’s one of my favorite parts of DIYing.
And if you’re looking for more cabinet DIY projects, check out my post on where to save vs. splurge on cabinet updates!