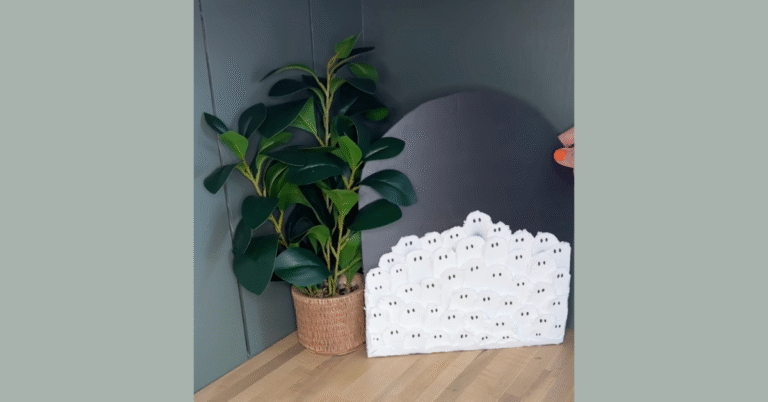
How to Make DIY Look Professional: 5 Steps You Shouldn’t Skip
We’ve all been there. A project that was supposed to take a weekend turned into two, and by the time you’re close to done, you just want to be finished. Like, yesterday. 🙃 But before you officially call it complete, there are a few small steps worth adding to the end of every project. And they’re the reason some DIYs look homemade while others make DIY look professional. None of them are complicated or expensive. They just require not quitting five minutes too early. Let’s get into it!
Notes: This post contains affiliate links. I may earn a commission at no extra cost to you. Thanks for supporting my content!
How to Make DIY Look Professional Tip #1: Fill Nail Holes
Think about it: have you ever noticed nail holes in a store-bought piece of furniture? Probably not. That’s the whole point!
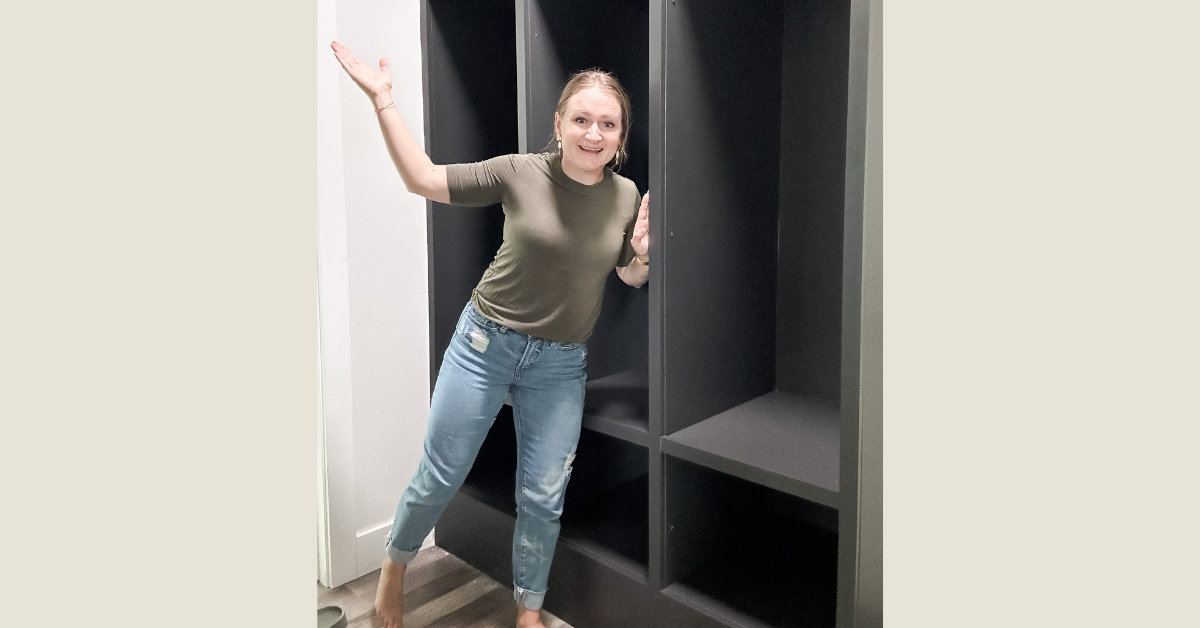
Spackle Vs. Wood Filler
There are two ways to fill nail holes. The spackle/putty knife combo is your go-to for drywall and painted surfaces. It dries quickly and sands down smoothly. I use spackle every single time I do an IKEA closet makeover, and it changes how “finished” the whole thing looks!
Wood filler is exactly what it sounds like – it’s made for wood. It mimics the grain once it dries, which means it blends in instead of standing out. It’s ideal for woodworking projects, like installing shiplap.
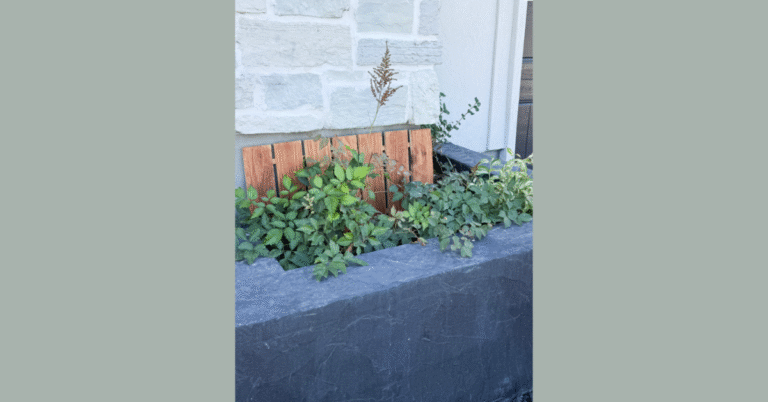
How to Make DIY Look Professional Tip #2: Caulk the Gaps
Caulking is important for aesthetic reasons, but also for functionality; it keeps debris, moisture, and other unwanted things out. You can add caulk to trim, baseboards, shelving – pretty much wherever there’s an unwanted gap. My go-to technique is to use a caulk gun, apply the caulk, then go over it with a damp paper towel while it’s still wet to remove the excess. Easy!
One of the finishing touches on my tile-over-tile backsplash project.
DIY Tip #3: Sand the Edges
Since not sanding is a one-way ticket to splinterville, most people don’t skip this step entirely, but a lot only do it once. It’s important to sand multiple times: a light sand before painting, and between coats. Depending on the project (like refinishing furniture or painting raw wood trim), you may even need another round after the final coat once it’s fully dry. It adds time, but the difference it makes is worth it!
Sanding Block vs. Sandpaper
A sanding block is good for flat surfaces because it keeps even pressure across the whole thing, so you’re not accidentally creating dips where your fingers press harder.
Sandpaper is better for curves, edges, and anything you need to get into a tight spot.
If you’re wondering which grit to choose, head to my sandpaper guide blog post!
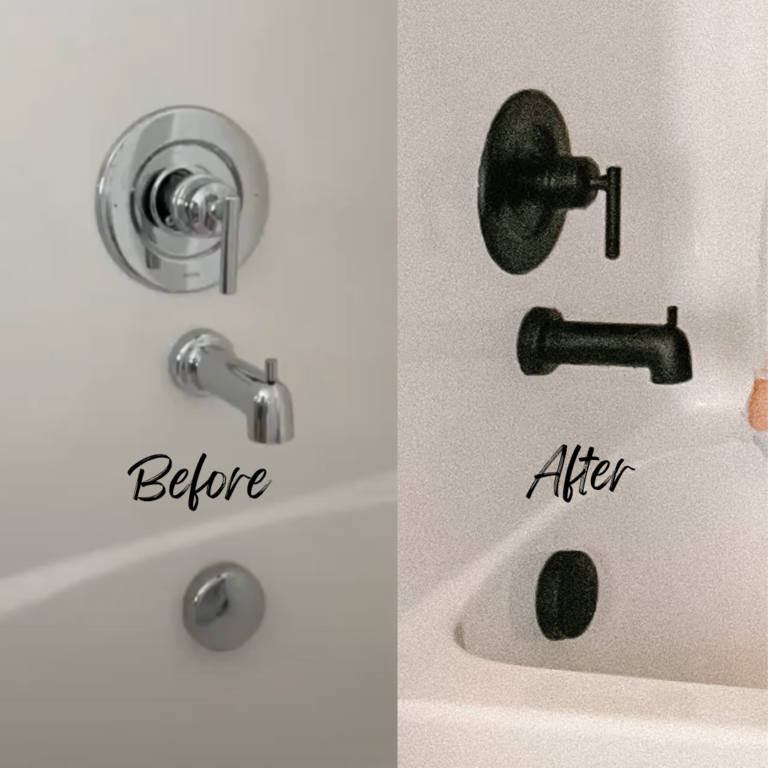
How to Make DIY Look Professional Tip #4: Paint Touch-Ups
Raise your hand if you’ve taped off a project, painted, then lifted the paint, only to realize that the tape didn’t work quite as well as you thought it would? 🙋♀️ See the video below for a mishap during my checkerboard painted patio.
Because taping isn’t foolproof, when in doubt (and for touch-ups), use a small angled brush.
I also highly recommend keeping a labeled jar of touch-up paint from each project for updates down the road. I love these containers!
How to Make DIY Look Professional Tip #5: Wipe Down Everything
The last thing you want is *another* thing to clean, but thankfully, this step doesn’t need to happen as often as wiping down the kitchen counters. Just grab a damp microfiber cloth and go over your work to remove fingerprints and dust. If your project is outside, I highly recommend this pressure washer – we use it a ton!
It even removes paint from concrete!
DIY Finishing Touches
These no-skip DIY tips aren’t expensive, time-consuming, or difficult! They are easy to talk yourself out of when you’re tired and ready to be done. But if you spend the extra few minutes to knock them out, it’s well worth it. Your hard work deserves a beautiful finish!