From Chaos to Calm: A Jaw-Dropping Pantry Makeover
After living with a cluttered, chaotic pantry for far too long, I finally decided it was time for a pantry makeover. And what better time than during a never-ending winter? Now, every time I open the door, I’m amazed at the transformation. It’s hard to believe the vision I had in my head has come to life so perfectly. I hope this step-by-step makeover inspires you to bring a little calm and order to your own pantry. Here we go!
Pantry Makeover Supplies:
- Shelf Brackets
- Wood for Shelves
- Edge Banding
- Stud Finder
- Wood for Accent Wall
- Countertop (I ordered quartz, but you can get any style you want!)
- Drawers
- Cabinet for Broom Closet (There are lots of Pax options that would work!)
- Caulk
- Drawer Hardware
- Light
- Primer
- Paint (I chose Woods Violet by Benjamin Moore.)
- Stain (I used a combination of 40% Early American, 20% Whitewash, and 40% Weathered Gray. You can use any color you like. I do prefer water-based stain!)
- Polyurethane
- Tile
- Mussel Bound
- Grout
- Grout Float
- Spackle
- Beverage Fridge
Step #1: Remove Old Shelving
First up in this pantry makeover: Remove all of the shelving. I removed mine a little at a time because I knew this project would take longer than a week, and I still needed somewhere to store my stuff. I started with the side of my pantry where I wanted to put a cabinet to hold my vacuum and mop.
Step #2: Install the Broom Closet Cabinet
IKEA is one of my favorite places for purchasing cabinets that, with a little time and love, can appear completely built-in. (Check out some of my other projects using IKEA cabinets here!)
I went ahead and made sure that everything I needed would fit inside the IKEA Pax cabinet, then got to work making it appear custom by attaching trim to the top and a baseboard to the bottom. I added a side support for the countertop and also a side piece so I could attach a front face all the way around it. Then, I also filled all of the holes in the unit. Although filling all those holes isn’t necessary, it just helps it to look more built-in. Lastly, I caulked all those seams and added the wood for the front faces.
Step #3: Replace the Light Fixture
If you like the light fixture in your pantry, you don’t need to do this step. Mine wasn’t my favorite, but on top of that, with the new design of the pantry, I needed something slimmer. I love the light I got and have used it in multiple rooms now. It’s super slim, but still puts out a ton of light. If you need a step-by-step tutorial on how to change out a light fixture, check out this blog post!
Step #4: Install Cabinet Bases
Next up: Installing those cabinet bases/drawers. I ran into a couple of little hiccups with this, but it wasn’t anything I couldn’t figure out. I had to cut out a small box in the back of one cabinet so that I could still have access to the outlet. Having outlets in your pantry is a game-changer!
These drawers are probably one of my favorite parts of this pantry! When installing these, I made sure to use my stud finder to attach them to the studs in the wall.
Step #5: Paint
Usually, for my paint colors, I tend to either go white or green. I love those colors! But after talking with my mom, she convinced me to try something new. I was pretty nervous to see how it would turn out, but I absolutely love it! I know that this color isn’t for everyone, and that’s okay. At the end of the day, all that matters is if you like the color. I went with Woods Violet by Benjamin Moore. My husband stared at it for a good long while trying to decide what color it is. Is it blue? Is it purple? It’s magical! I painted my broom closet and the base cabinets in this color. Some of the cabinet was already primed, but for the raw pieces of wood that weren’t primed, I used primer first. It helps so much!
Step #6: Add a Beverage Fridge
I think this may have been my husband’s favorite part of this renovation. NOT! It was so hard to decide between the beverage fridges, and I kept changing my mind and getting a different one. We finally settled on the one I wanted, and then it didn’t work! So we ended up returning yet another beverage fridge. 4th one’s the charm, right? This one was the winner.
I knew when I started this project that I wanted to put a beverage fridge in the pantry, and I am so glad we did! Instead of just storing all of our drinks on the floor of the pantry, they now have a place to go and are cold, too! It also saves room in the kitchen fridge. Win-win. I did have to add some supports to the sides of the beverage fridge for the countertops to sit on top of.
Step #7: Hide a Skeleton
This step isn’t totally necessary, but I do think it’s pretty funny! I had a corner in the pantry that I was unable to use for anything else. I tried multiple options and nothing really worked. So before everything was installed, I decided that I’d put a fake skeleton into that corner. It’ll make for a really funny surprise when the next homeowners change up this space. You should have seen the look on the countertop installer’s face when they saw what I did!

Step #8: Install Countertops
I knew that I wanted quartz countertops in the pantry—I love the way they look, how well they clean, and how durable they are. I decided to hire this part out. We have some friends who are in the countertop business, and we went with them.
The process is actually really neat! When they come to measure, they use lasers, and it’s incredibly accurate. After the counters were made, they came back to install them. The fit is perfect! You could also easily get some countertops from your local hardware store or make your own.

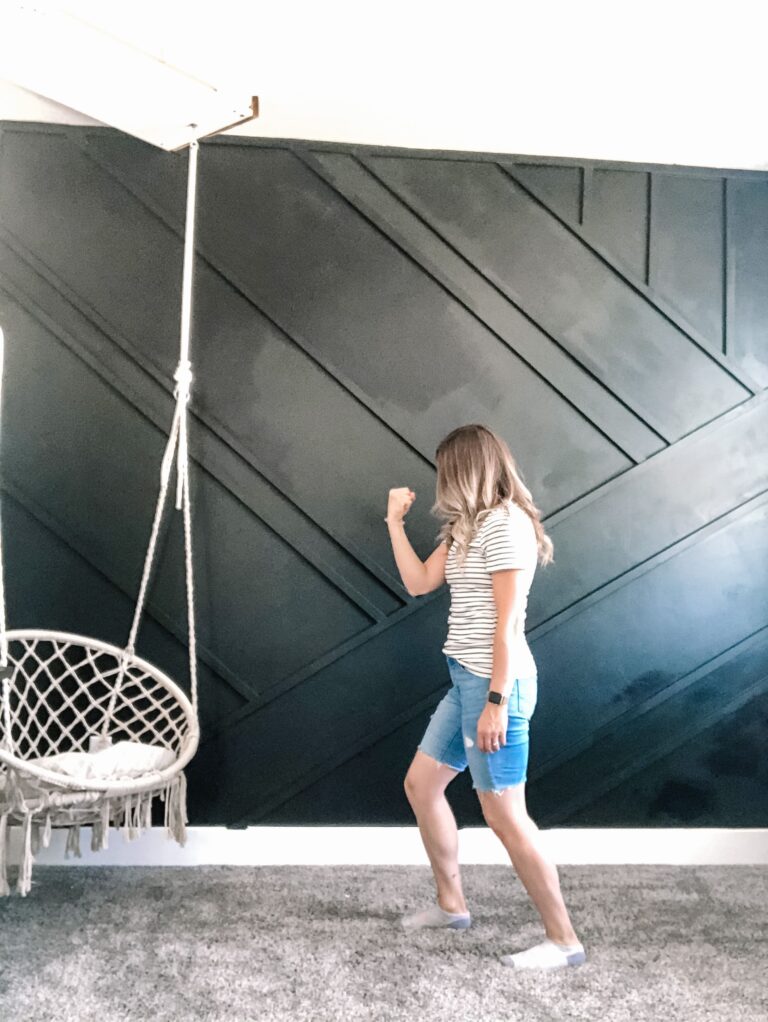
Step #9: Add Some Character with an Accent Wall
I decided to add wood slats to one wall in my pantry that matched the wooden shelves on the other wall. I started by painting the entire wall, because I wanted the spaces in between the wood slats to be dark. Next, I cut all of the slat boards to the length that I wanted for the wall. Then, using my nail gun, I nailed the wood slats to the wall. I made sure the first board was level, and then I used one of the pieces to act as a spacer so they were all equally spaced. It makes it so much easier to get the proper spacing.
After that, I added a piece of wood trim to the top of the wall where it meets the ceiling to make it look more finished. Then I stained them using the same mixture of stains that I did on my shelving. My formula is in the supplies list above. For some reason, it didn’t stain the same, and I wasn’t loving the result. It looked way more gray. So I decided to change it up and paint everything black.
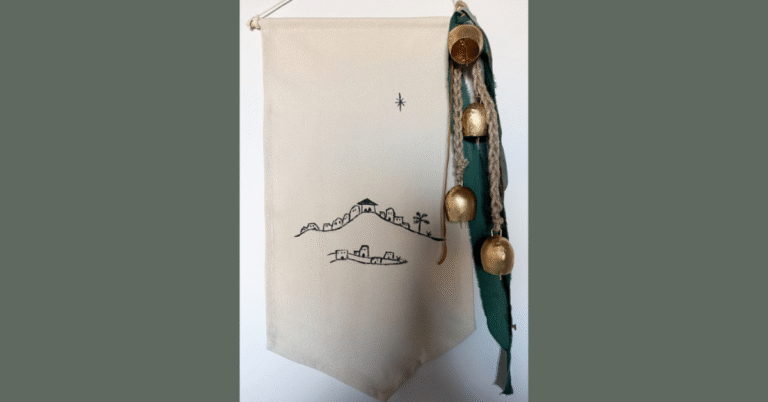
I wanted to find some cute artwork or a plant to add to the wall, but none of the stores had what I wanted. So I decided to make my own! I just repurposed an old frame that I had, mitered the edges of the wood for the new frame, and secured it on. Then I added some cute artwork. I love the way it looks!
Step #10- Repair the Wall & Tile
Since I knew I was going to cover this wall up with tile, I wasn’t a perfectionist with how smooth I got the wall. I just wanted to fix the rough pieces to make it mostly smooth. If I were going to paint the wall, I would have spent more time perfecting it. I used this spackle to patch the wall, then sanded it smooth.
For some of the bigger problem areas, I had to repeat the process until I got it how I wanted it. After the wall was completed, I put up Mussel Bound. Have you heard me talk about this genius product before? Mussel Bound is an adhesive tiling mat. You peel off the back and stick it to the wall. Then, when you are ready to tile, you peel off the front layer. I’ve used this for multiple tiling jobs, and I have never had a problem. Even years later, the tiling is still holding up fine. I used a tile saw to make the cuts I needed this time. Because it was still so cold here, I had to use hot water so my hands wouldn’t freeze while using the tile saw.
Step #11: Grout
I like to buy the premade grout. It makes the process so much quicker and cleaner, in my opinion. You can use a grout float or your fingers to press the grout in between the tiles. I like to wear gloves when I do this, as it does get messy. I also like to only do small sections at a time. I’ll put some grout on and then wipe off the excess. I’ve found that if you do bigger spaces at a time, the grout dries faster and is a lot harder to get the excess off. Also, if you plan and lay down a drop cloth on your countertops, then you don’t have to scrape off the excess grout that falls and dries on it. Ask me how I know!
Once everything is grouted, you can move along to the next step. I didn’t have to do a sealer because the grout has a sealer in it already, and I knew this area wouldn’t be coming into contact with water regularly.
Step #12: Install Shelves
This step was a hard one! That tile sure was hard to drill through. I still would rather drill through tile for the shelf brackets than have to tile around the brackets, because I think it looks nicer and is the easier route to go. I used a diamond bit and a regular bit for this. The diamond bit is so much nicer to drill through the tile with, but it doesn’t have a pointed end and would slip more easily when I was just starting to drill. So I would start with the regular bit and then switch to the diamond bit. It required a lot of upper-body strength. All those workouts and weight lifting definitely helped me out!
For the shelves, I bought some oak plywood at Lowe’s and had it cut down to the width I wanted. Then, I cut the shelves to the length I needed. I did use edge banding for the ends of my shelves to give them a nice finished look.
I always use wood conditioner before I stain. It helps the stain to apply more evenly and have fewer splotches. After the conditioner, I used my favorite mixture of stain and added a polyurethane topcoat. After my first coat of polyurethane was dry, I sanded. That way, I didn’t end up sanding off the stain, but it still got it as smooth as I wanted. After sanding, I added another coat of polyurethane. Then I screwed the shelving boards into the brackets that I hung, and I was good to go!
Step #13: Organize
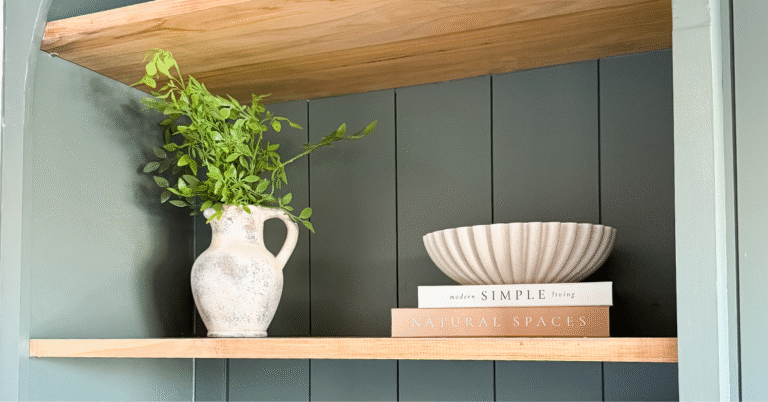
Next is the fun part, organizing your new pantry! It was easiest for me to get all the organizing materials and see which fit the space best. I’m loving all the options there are. My favorites have been the lazy susans in the corner, the clear containers, and the cereal dispensers. Only time will tell if the cereal dispensers are cleaner or messier than just the regular cereal containers.
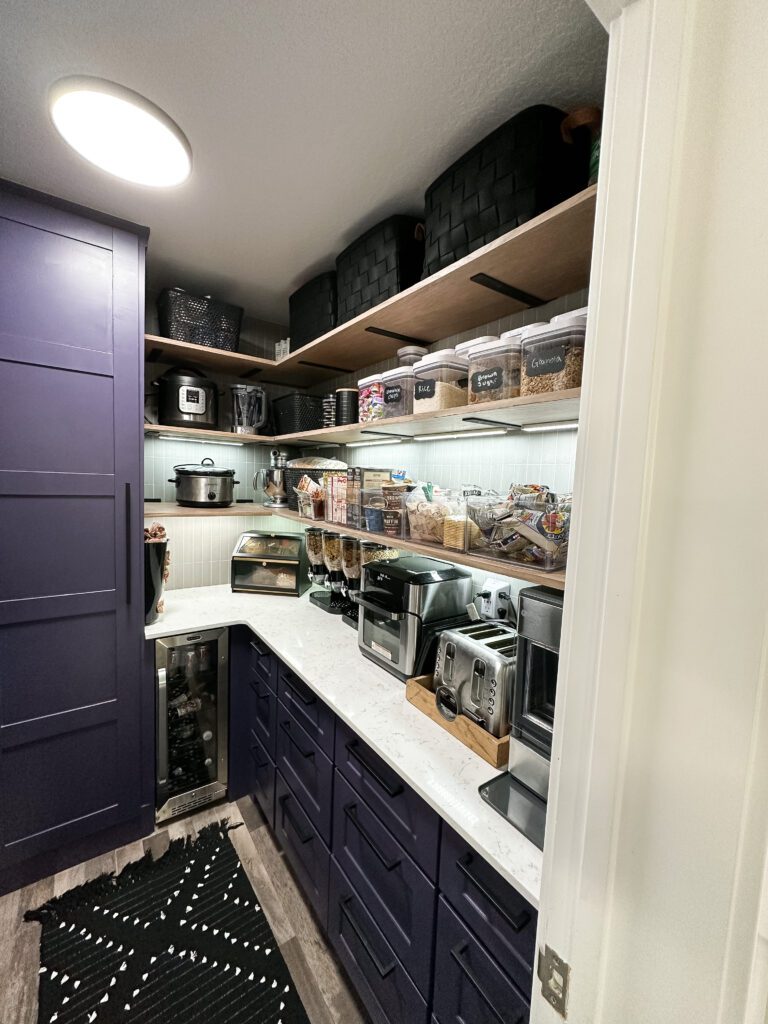
Pantry Makeover Final Reveal
This was not a quick project. It took me a total of nine weeks to do! It’s hard to be without a working pantry for that long, but we survived and love the results. Everything is so much more functional now. I am obsessed with this pantry and still amazed that I was able to create it. I have to pinch myself that I’m not dreaming! My motto is that YOU can create the home of your dreams, and I fully stand by that. Follow me on Instagram for more home project inspiration!