Garage Makeover Part 4: Garage Workbench
The final part of this makeover was my garage workbench area. If you missed the first 3 parts, you can see them here. Part 1 – Prep, Part 2 – Bin Storage, and Part 3 – Deck Upgrade.
I broke the workbench part up into a few mini projects. Remember what I always say? How do you eat an elephant? One bite at a time! This was probably the biggest part of the garage series, and it would have been easy to get overwhelmed. But when you break it down into sections, it is easier to manage and do.
Garage Workbench Supplies:
- Lower Cabinets
- Upper Cabinets
- Butcher Block Countertop
- Caster Wheels (If you’re also making the miter cart)
- Polycrylic Seal
- Hardware
Optional Supplies:
- Tool Organization Rack
- Retractable Extension Cord Reel
- Wifi Garage Heater
- Lumber Racks
- Hanging Storage System
- Miter Saw
Part 1: Garage Workbench Lower Cabinets
I bought pre-made cabinets for this project. You can get them from Lowe’s or Home Depot. I got five sets of lowers with drawers. I plan to attach four of them to the wall and put the fifth one with wheels as a miter saw cart.
When installing cabinets in a garage, it is important to make sure they are level. You will need to add shims to the bottom to raise them where necessary. Garages are typically built with a slope, so raising them as you go is important to keep everything level.
I also attached a few 2x4s to the studs in the wall to bump out the wall surface area, as there was a lip on the floor where the concrete meets the drywall. Then, I secured the cabinets to the 2x4s and to each other.
Once the cabinets were installed, I added a butcher block countertop. I screwed it into the top of the cabinet and then stained and sealed it.
Miter Saw Cart
To make the miter saw cart, I cut the base/footings off the cabinet and installed wheels. I used the same butcher block countertop.
Part 2: Upper Cabinets
I installed the uppers directly to the studs in the wall. I found it the easiest to cut a 4×4 to use as a guide/support. Measure the distance from the countertop to the bottom of the cabinet, and cut the 4×4 to that length. From there, I put the upper cabinet on the 4×4 to hold it in place as I secured it to the wall. This ensured that they were all even and the same distance from the counter.
Once all the cabinets were installed, I added hardware to everything.
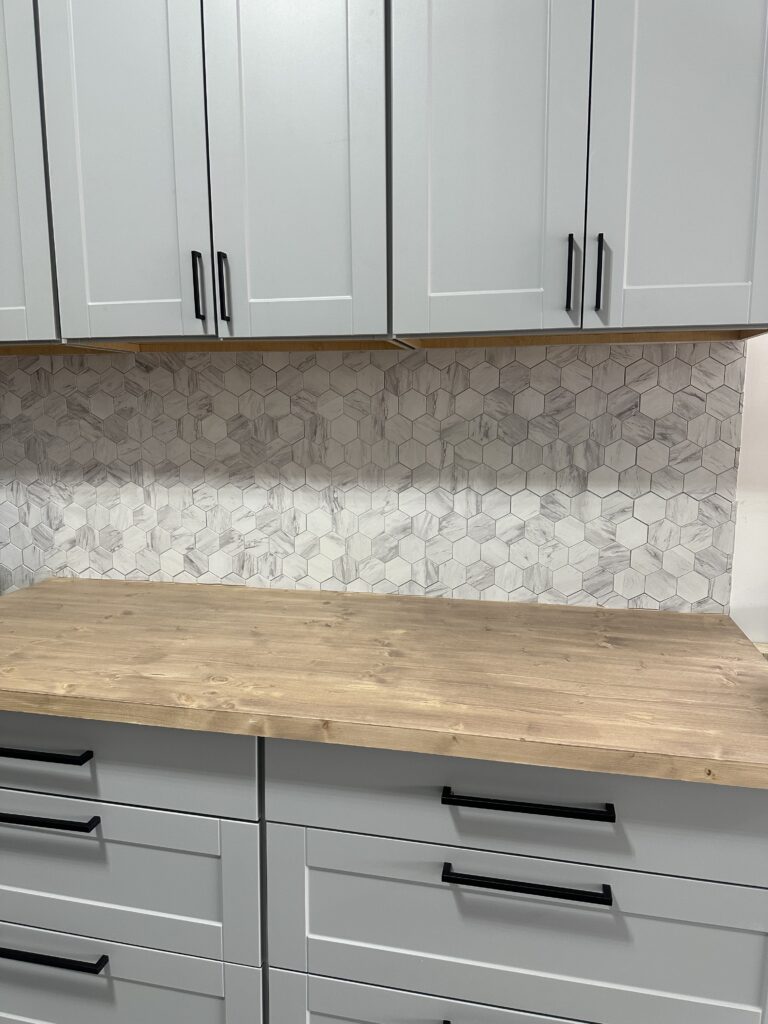
Part 3: Garage Workbench Backsplash
This part is extra, and I don’t even care! I absolutely did not need to install a backsplash, but I am so glad I did. I used peel-and-stick tile, so it was not as expensive as a standard backsplash would cost, and it was SO much easier to do! It still took a while, but it was still worth it!
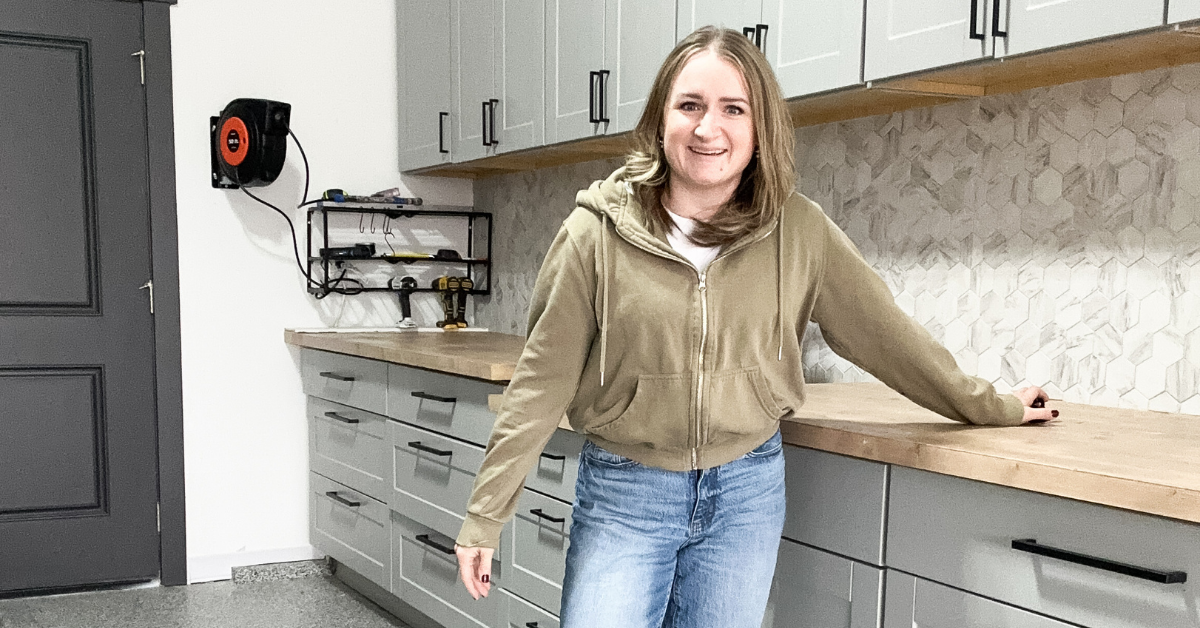
Part 4: Pull it All Together
The last thing I did on this workbench section of the garage makeover was to install all the miscellaneous organization items I had for the remainder of my garage. I added a tool organization rack, a retractable extension cord, a garage heater, lumber racks, and a hanging system for shovels and other items. I also put my miter saw on the miter saw bench. Once that was complete, I stepped back and admired my work! I am so excited about the way this all turned out! It is truly the garage of my dreams!
Check out this garage workbench reveal!
Follow along for more DIYs and fun at…


One Comment
Comments are closed.