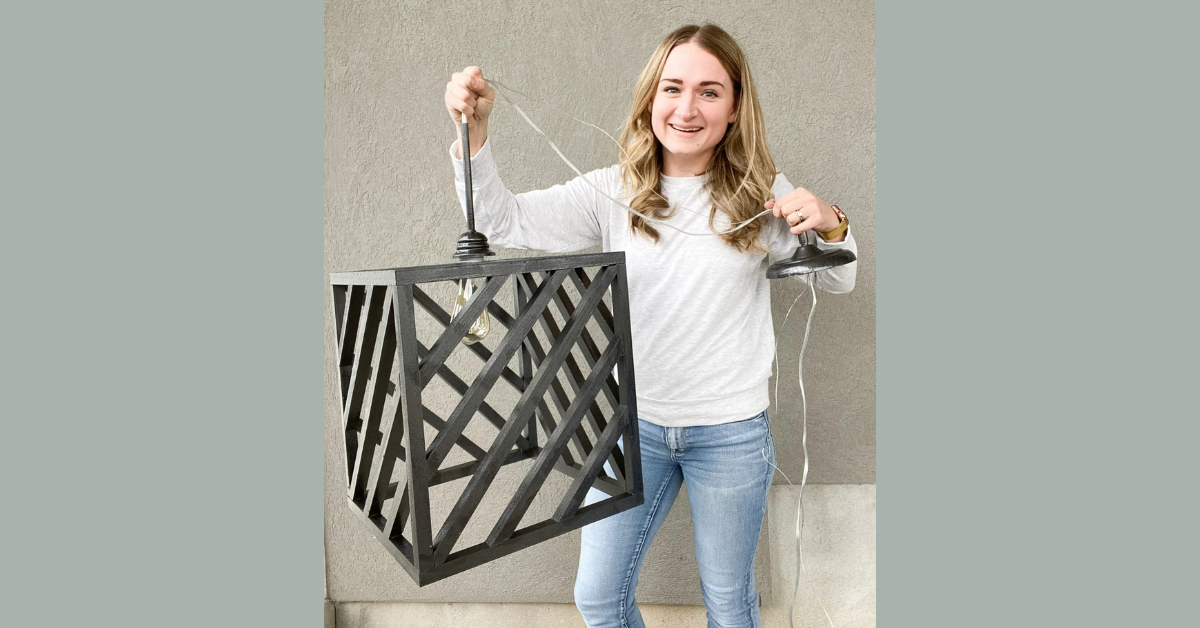
Shine in Style: Creating Your Own Custom Light Fixture
This project started on Pinterest (as they often do!). I found a post where the person made a darling custom light fixture out of wood. I LOVED it and had to recreate it for my mudroom. It was pretty simple, which I was pleasantly surprised by—it looked so much more difficult than it actually was. The hardest part was waiting for the glue to dry.
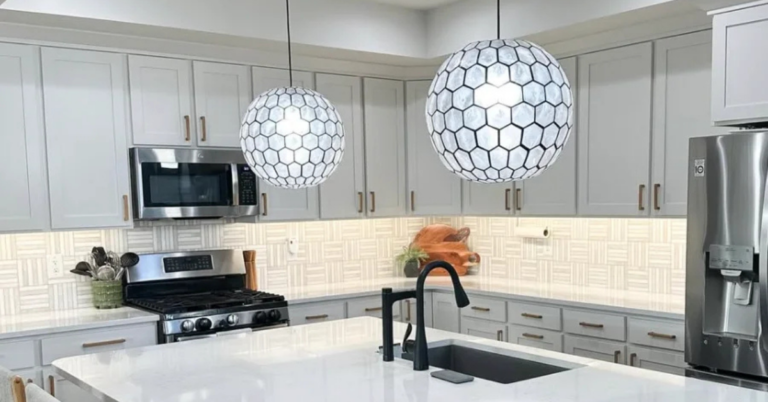
When we moved into our house, we replaced the builder pendant lights above our island, so I repurposed them for this. Because of that, this project was actually very inexpensive, but it still has a huge impact! Here’s how I made these custom light fixtures.
Custom Light Fixture Supplies:
Step #1: Cut the Wood for the Frame
I started by cutting twelve dowels to be 14 inches each, making sure they were all exactly the same length. Then I cut both ends of eight of them at 45-degree angles.
Step #2: Assemble
Next, I assembled two squares with the dowels I cut at 45-degree angles. I glued them together, and if you have angle clamps, you can use them to hold the squares together while they dry.
Once they are both dry, I glued the remaining four dowels in the four corners of one of the squares, then put the second square on top to complete the cube.
Like I said, the hardest part was waiting for the glue to dry. If you struggle keeping the dowels together, but do not have angle clamps, you can use tape or even put a nail in them.
Step #3: Create an Anchor
I got a piece of poplar board to create the anchor to hold the light. Next, I made an X, then cut a hole in the middle for the light to go through. I used a hole saw kit that just attaches to your drill. Last, I secured it to the top of the cube.
Step #4: Add a Design to the Sides
Time to spice up the sides! I cut eight pieces of the dowel to the same length. They will go into two of the corners of each of the four sides of the cube. I then cut each of the ends at 45 degrees and glued them on.
After that, I did the center dowel that went from one corner to the opposite corner. I only needed four of those, and I cut them all the same length. I mitered the ends to a point (so two 45-degree angles that meet in the middle). Then I glued those on.
Finally, I cut eight more dowels that will go between the two. Repeat the steps, cut eight pieces to the same length, miter the ends, and glue them in place.
Step #5: Paint Your Custom Light Fixture
Because this is wood and I wanted it to have a smooth finish, I gave the whole cube a quick sanding. Then, I painted everything black: the pendant light, the light plate that attaches the light to the ceiling, and the cube. I used a paint and primer in one, but you can prime it, then paint it if you want.
Step #6: Assemble & Hang Your Custom Light Fixture
Lastly, I attached the pendant light to the cube and hung my beautiful new custom light fixture in place of the light that was already in my mudroom.

Seriously, I love how this custom light fixture turned out! It looks so fresh and fun, and is a huge statement piece in my mudroom! What do you think? Would you give this one a try? Let me know.
Follow along for more DIYs and fun at…