Office Makeover Part 2: Peel-and-Stick Wallpaper Mural
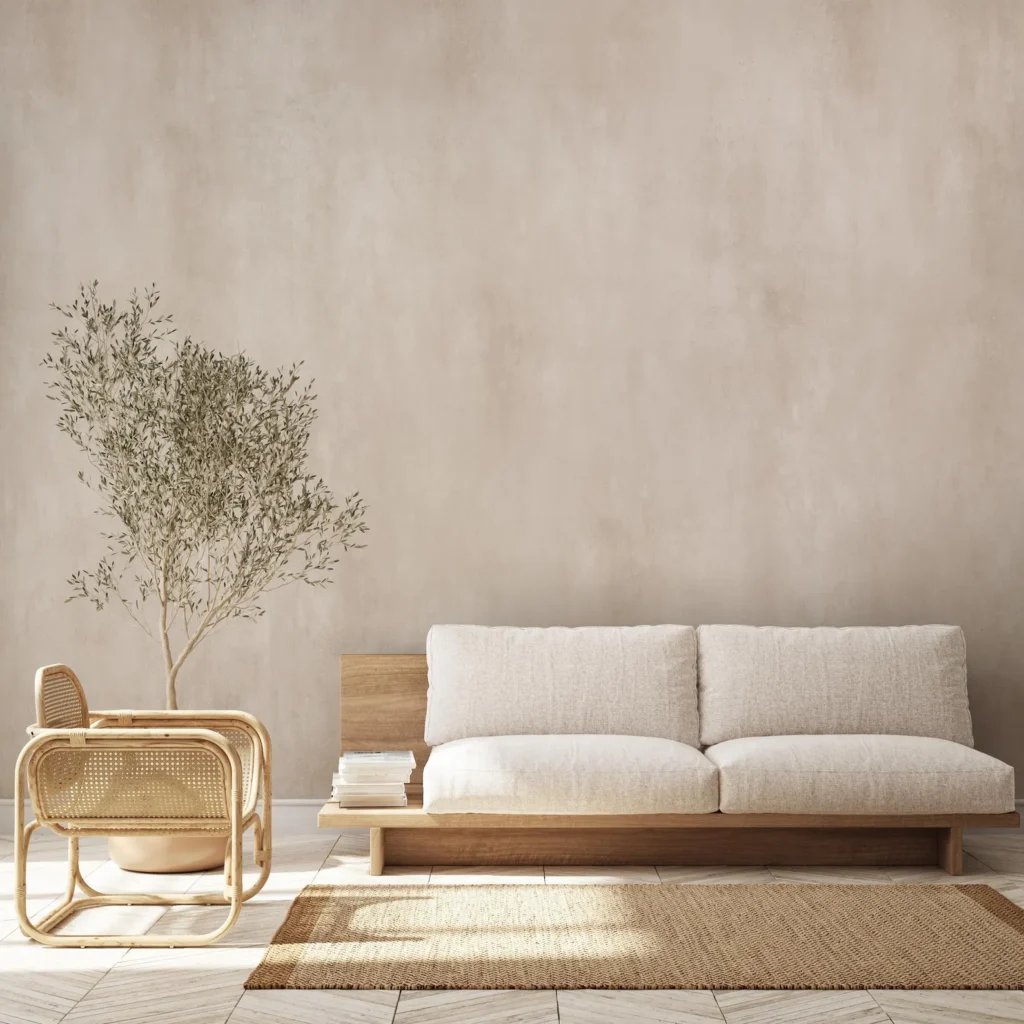
Welcome to the next phase of my office makeover: Creating a peel-and-stick wallpaper mural! With the back wall of my office covered by gorgeous built-in custom cabinets, I needed to add something just as beautiful to one of the side walls. If you’ve been following me for a while, you’ll know that peel-and-stick wallpaper is something I turn to when I want to transform a space’s visual impact, without spending a fortune.
Turning this peel-and-stick wallpaper into pricy-looking art was a lot easier than you might think! Keep reading to learn how I did it and for some of my favorite wallpaper options.
Supplies Needed:
Note: This post contains affiliate links. I may earn a commission at no extra cost to you.
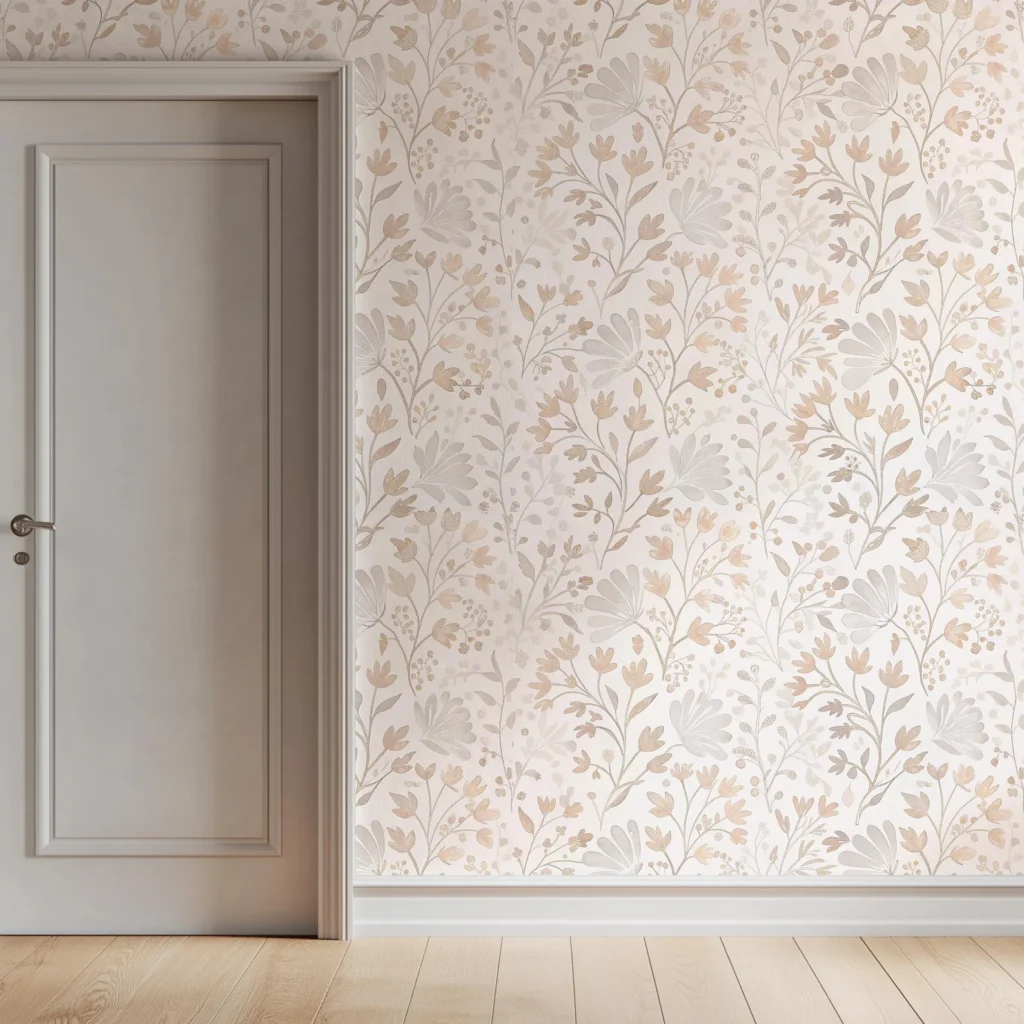
- Peel-and stick-wallpaper (I chose this one!)
- Stain for the frame around the wallpaper (I went with a 50/50 mix of Behr Golden Oak and Behr White Wash)
- Wallpaper Smoothing Tool Kit
- Brad Nailer
- Miter Saw
- Level (You can also use a laser level)
Step #1: Prepping for the Peel-and-Stick Wallpaper Install
Our front room has housed the piano for a long time, but now that we were updating the space into my office, it had to be moved. We decided the best place for it would be the living room, and I think it’s getting played more there than it ever was before!
I also took down the photos and light fixtures and removed the outlet covers from the wall. Once the space was clear, I drew a level line to line the top of the wallpaper up with.
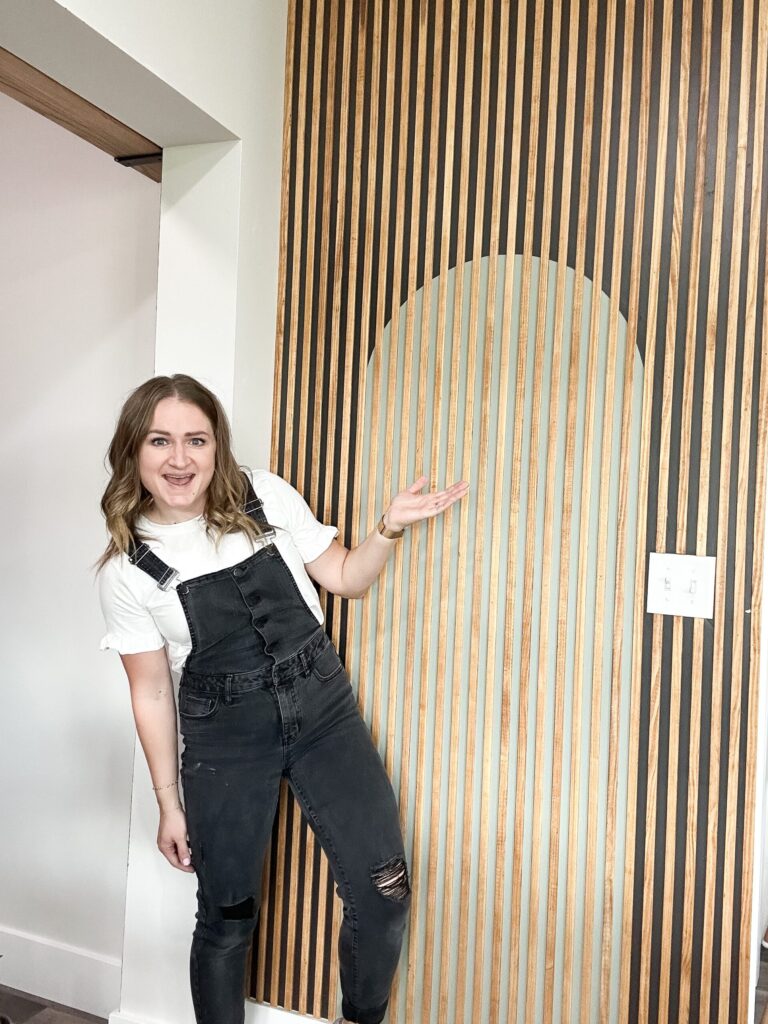
Step #2: Framing the Peel-and-Stick Wallpaper Mural
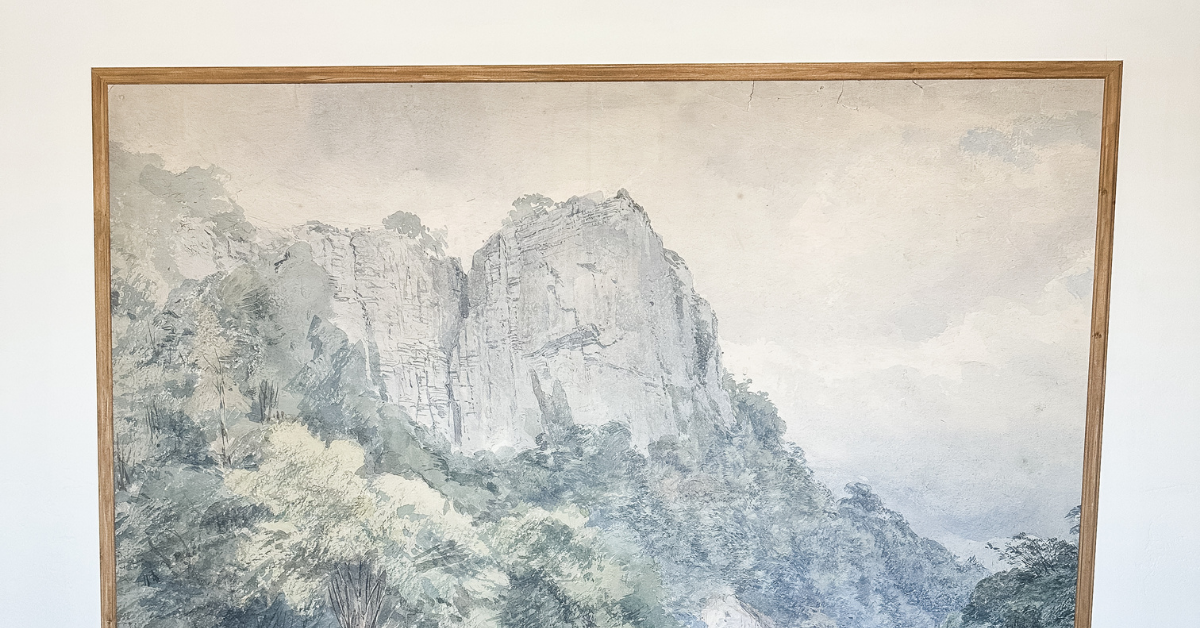
Next, I installed the other side of the mural and smoothed it out with this kit. I did some touch-up painting around the mural, and then it was time to frame! I painted the wood “frame” using a 50/50 mix of Behr Golden Oak and Behr White Wash.
Then, I measured around the wallpaper and cut thin wood pieces to surround it to give it that framed art look. I affixed the wood to the wall using my nailer, and then added the outlet cover back to the mural. I put wallpaper on the cover to match, and it’s nearly invisible! See if you can spot it now. 😉
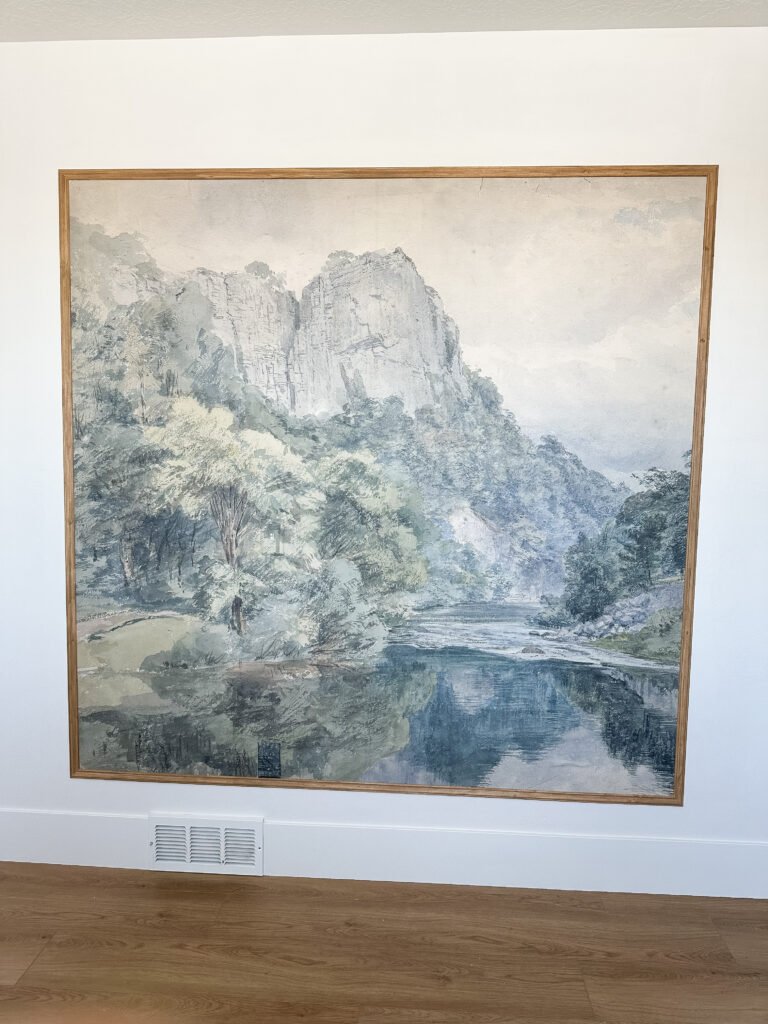
And ta da! My peel-and-stick wallpaper mural was complete. This is a quick, easy DIY project that you can do to transform any space! I’m already thinking about the different areas of my home I can add it to. And speaking of, here are some other wallpaper options I love, either for an entire wall or a mural!
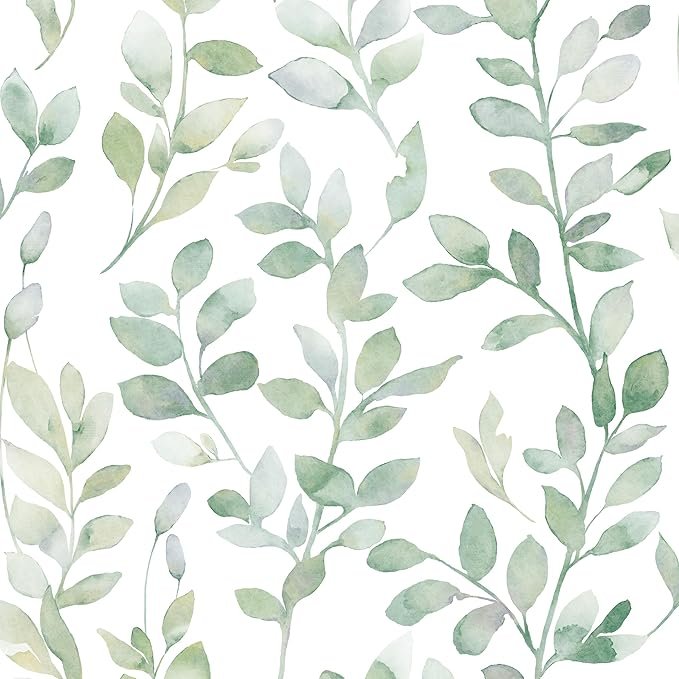
Peel-and-Stick Wallpaper Mural Roundup

This may just be my new favorite DIY! Are you going to add peel-and-stick wallpaper to your home? Let me know in the comments!
Follow along for more DIYs and fun at…