DIY Picture Frame Moulding
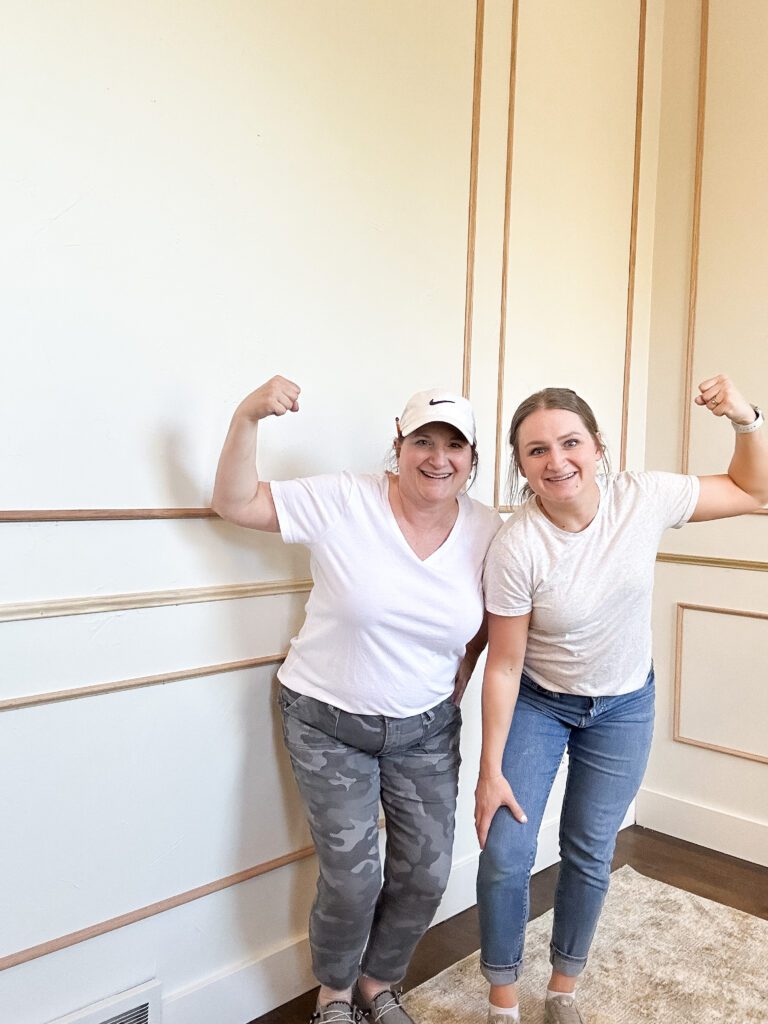
I love it when I get the chance to spend time with my mom. She’s simply the best! So when she told me she wanted to add some character to a wall in her house with DIY picture frame moulding, I immediately said YES! I got to hang out with my mom and DIY. Win-win!
If you want to do something similar in your house but don’t know where to start, this blog post is for you! Follow the steps below.
Note: This post contains affiliate links. I may earn a commission at no extra cost to you. Thanks for supporting my content! 🙂
DIY Picture Frame Moulding Supplies:
- Trim (We just found trim at our local hardware store)
- Miter Shears
- Miter Saw
- Wood Glue
- Nail Gun
- Thin Painter’s Tape
- Laser Level
- Wood Filler
- Caulk
- Envirolak Primer by Sherwin-Williams (This one is also an amazing primer!)
- Optional: Pin Nailer (See Step #4)
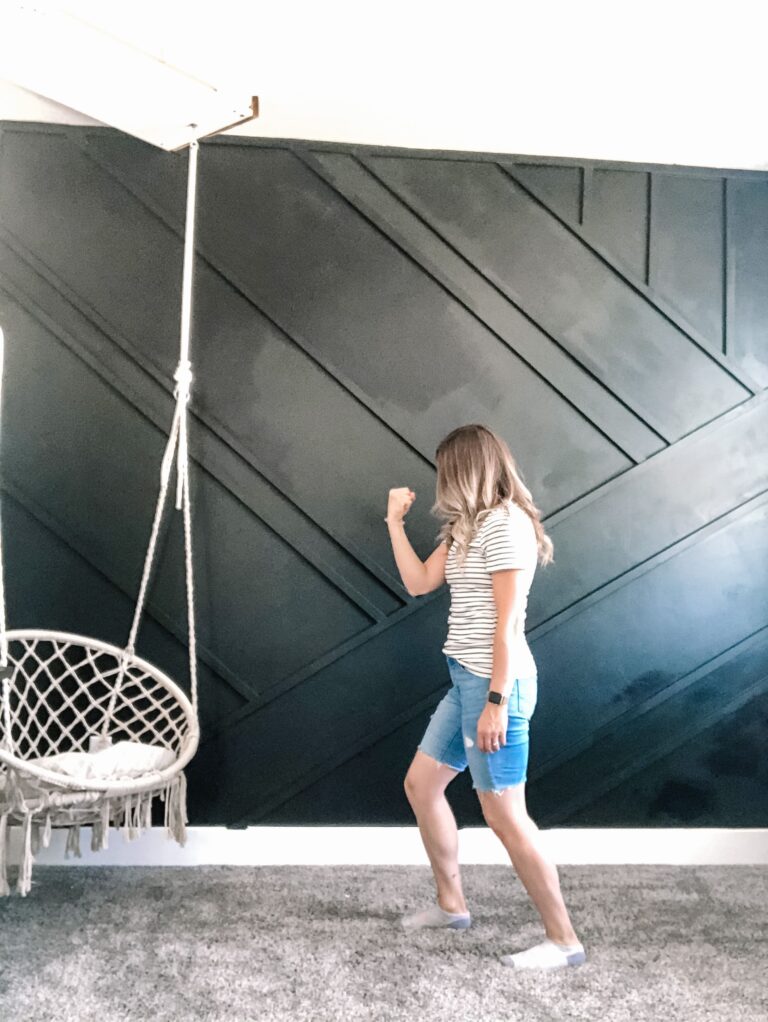
Step #1: Visualize & Plan
Before I tackle a project like this, I like to use my painter’s tape to help me visualize what I want and adjust my measurements accordingly. I used thin painter’s tape for this project because it looks more like the trim we’ll be using here.
DIY Picture Frame Moulding Step #2: Pick Out Your Trim
There are so many different types of trim you can use for a project like this, including some that are already primed and ready to be painted. Of course, the trim that my mom liked the best was the one that was not primed. So we had to do a little more prep work before painting. But in the end, it’s really whatever look you want, and she absolutely loves how hers turned out.
Step #3: Attach the Chair Railing
I decided to start by putting up the chair railing first. For the pieces that would end up in a corner, I cut at an angle so that when the other piece met it, it would look seamless. I used my laser level to make sure everything was perfectly straight.
The nice thing about chair railing is that it spans the entire wall horizontally, so you know you will hit some studs when nailing it up. I put up some painter’s tape where the studs were.
Step #4: Attach the Trim Pieces
This is the fun part: when what you visualize finally starts taking shape. You’ll need to measure and cut the trim at 45-degree angles so that it makes a perfect square. If it doesn’t exactly match up, you can definitely use some filler to fix it, but it’s so much better if you don’t have to do that.
In the end, we found it easier to take blocks of wood in the correct size and draw a line to match them up with the outer edge. This video (below) explains that a little bit better.
We also found that using a pin nailer worked so much better for attaching it to the wall. You can definitely still use glue and a brad nailer. If you go that route, do not use Gorilla Glue. It did not work for us. You’ll want to use something more along the lines of E6000 or small amounts of Liquid Nails. We used a brad nailer for the bigger trim, but the pin nailer for the smaller trim.
Also, my mom is the queen of organization. She decided to incorporate this system so that she knew which piece goes where. It’s genius!
Step #5: Fill Nail Holes & Gaps
This step is all about those finishing details: filling all the holes and gaps. You can use wood filler and caulk for this part. It may seem really tedious, and I’m sure you’ll want to give up, but keep going! It is amazing the difference this step can make!
Step #6: Prime & Paint
I love how a little bit of paint can completely transform a project! Since the wood was not previously primed, we knew that we’d have to do some extra steps to make sure the tannins didn’t show through. Tannins are natural and will come through your paint looking like yellow spots if you don’t prime it correctly. For this project, we decided to try something new. It’s called Envirolak by Sherwin-Williams. It worked great!
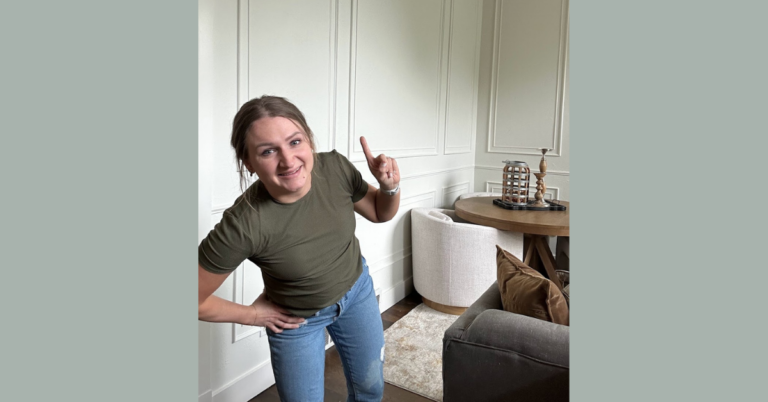
DIY Picture Frame Moulding Step #7: Final Touches
Once everything is painted, it’s time for the final touches. This includes hanging any paintings or decorating the space around the moulding. Then it’s time to just sit back and enjoy the beautiful view!
I love the way this room looks. It added so much character to this space and looks so classic and elegant. Follow me on Instagram for more DIY home projects!