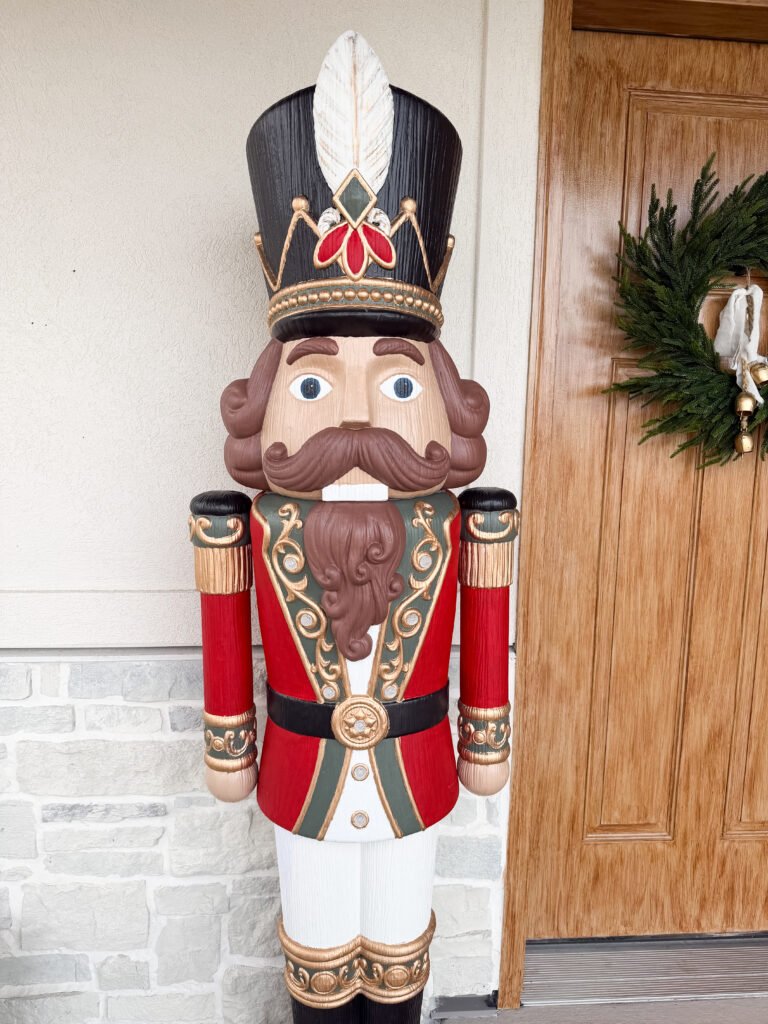
Finishing 25 Days of Christmas DIYs with Life-Size Nutcrackers
Allow me to take you back to a simpler time (a month ago) when I started working on these life-size nutcrackers. November Stephanie had no idea that painting 6-foot-tall nutcrackers would consume most of her free time, and then some. “How hard could it be?” I thought. Pretty hard, as it turns out! The amount of detail work on these nutcrackers had me questioning my life choices.
But after hours and hours of painting, I finally finished them! And now that they’re done, I feel so accomplished, and I’m excited to use them year after year in our Christmas decor.
While it was time-intensive, this project wasn’t technically complex, and it comes down to two steps: priming and painting. I’ve linked the supplies I used below so you have everything you need if you decide to embark on this adventure.
Note: This post contains affiliate links. I may earn a commission at no extra cost to you. Thanks for supporting my content! 🙂
Life-Size Nutcracker Supplies:
- Nutcrackers (They’re marked down as of when I’m writing this in December 2025, so now’s a good time to buy!)
- Primer
- Foam Craft Brushes (For priming)
- Acrylic Paint Brushes
- Your Choice of Acrylic Paint (I used white, black, red, green, brown, gold, and beige)
- Respirator Mask for Priming
- Large Paint Brushes
Step #1: Prime
I started by priming the entire surface and letting it dry. Because no way was I going to go to the effort of painting these nutcrackers and not have my work last as long as possible!
Step #2: Paint
I chose to decorate the details on my nutcrackers, but you could also paint them all one solid color and still have it turn out awesome! Just be sure to patch test the color before you go all in on it.
Life-Size Nutcrackers Full Reveal
Despite my frustration with the seemingly never-ending detail work, I’d say it was all worth it! These DIY life-size nutcrackers match the rest of my front porch Christmas decor so well, and I know they’ll be loved for years to come.
25 Days of Christmas DIYs
And with that, my 25 Days of Christmas DIYs series is officially complete! I loved taking on new challenges and revisiting previous projects. I’m so proud I accomplished what I did in the midst of sickness, being a working mom, and the overall holiday craziness. And I’m excited to tackle the remaining ideas on my list in the next holiday season! Here’s a recap if you missed any of my Christmas DIYs:
- How to Decorate a Christmas Tree
- Pipe Cleaner Wreaths: A Kid-Friendly Christmas Craft
- Showcasing Merry Memories with Santa Picture Frame Ornaments
- DIY Gingerbread Village
- Christmas Countdown: How to Make a DIY Advent Calendar
- Personalized Clay Stocking Tags for a Handmade Christmas Touch
- Bethlehem Banner: The Reason for the Season
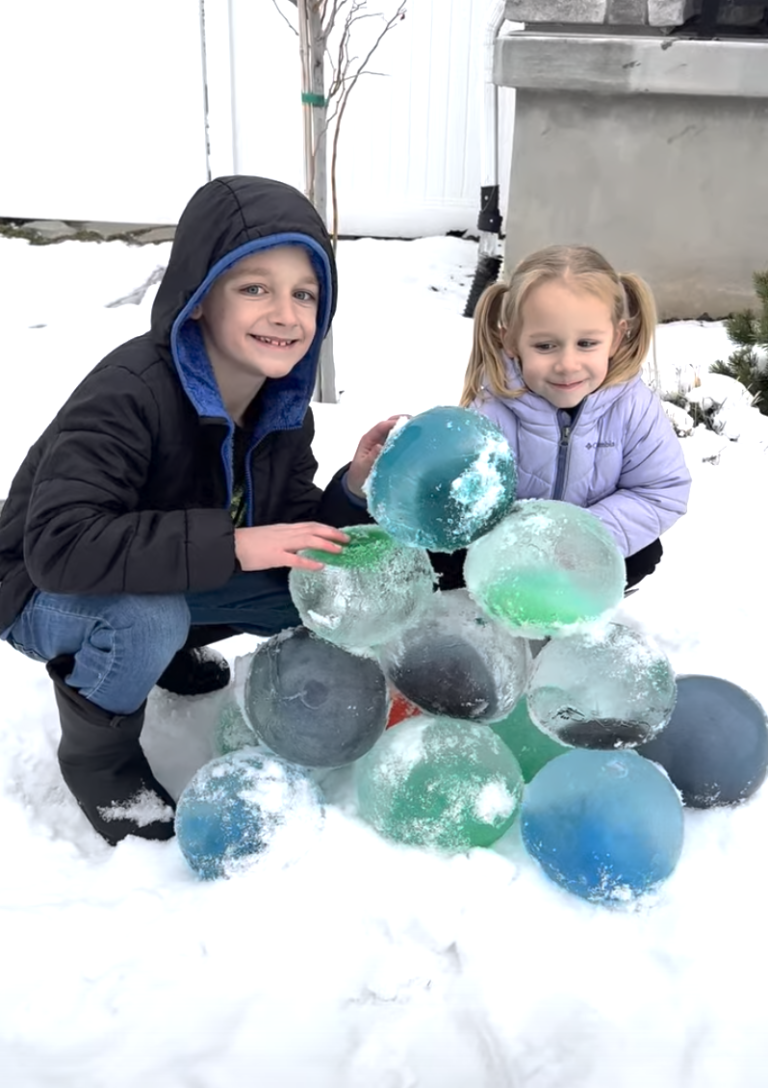
- How to Build a Melting Snowman Yard Decoration (Check out the videos for part 1 and part 2!)
- Thrifted Doll Crib Flip: A Heartfelt Homemade Gift
- DIY Nerf Gun Wall
- DIY Christmas Greenery Arch
- The Best Sugar Cookie Recipe (Plus Homemade Frosting!)
- Brr Baskets and Stocking Stuffer Ideas
- 25 Funny & Easy Elf on the Shelf Ideas
Wishing you a very Merry Christmas and a Happy New Year!
Follow along for more DIYs and fun at…