
DIY Easter Egg Wreath
I have a blast decorating my porch for the holidays, and Easter is no exception! After adding these cute topiary bunnies to my planters (similar here!), I started on my next project: this adorably festive DIY Easter egg wreath for my front door. It really is so simple to create, and I love that it’s one-of-a-kind! Keep reading to learn how to make your own.
Note: This post contains affiliate links. I may earn a commission at no extra cost to you. Thanks for supporting my content!
DIY Easter Egg Wreath Supplies:
- Wire Wreath Frame
- Plastic Easter Eggs
- Hot Glue Gun
- Ribbon
- Your choice of faux greenery – I went with boxwood and eucalyptus
- Your choice of faux white flowers – I like cherry blossoms, daisies, and baby’s breath
- Wreath Hook
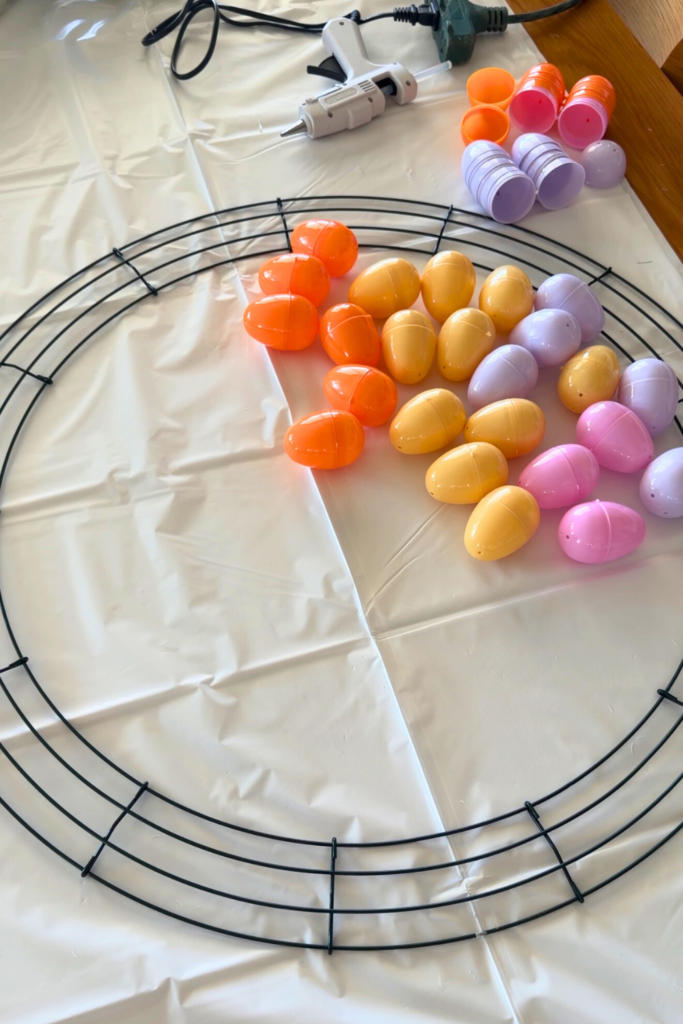
Step #1: Glue the Eggs to the Frame
We’re starting our DIY Easter egg wreath by building the base! But instead of greenery, we’re going to use plastic Easter eggs. Use hot glue and place them as close together as possible, all around the wire frame. Obviously, there will be gaps, but that’s where the flowers and greenery will come in during step two!
DIY Easter Egg Wreath Step #2: Introduce Greenery
Once the wreath is fully covered in Easter eggs, grab your greenery and start trimming pieces to fill the gaps. I like to alternate between flowers and leafy stems, hot gluing them both inward and outward so the wreath looks full.

Step #3: Add a Ribbon
This is optional, but a ribbon really ties it all together (pun intended)! After you’ve added that, hook your new wreath on your door, and prepare to be asked where you got it!

And I’m already thinking about what’s next! How should I decorate my front porch for that in-between period after Easter but before summer kicks off? Let me know in the comments!