Building a DIY Lemonade Stand
One of the best things about being a DIY’er is being able to create things for my kids. I’ve made a Nerf Gun wall, loft beds in both my boys’ and girls’ rooms, a rock climbing wall… the list goes on and on! This time, they asked for a DIY lemonade stand. And because there’s nothing better than an ice-cold sip of lemonade on a hot summer day, I was all in!
Note: This post contains affiliate links. I may earn a small commission at no extra cost to you. Thank you for supporting my content—it means the world!
Supplies Needed:
- Miter Saw
- Siding
- 2x4s
- Drill/Driver
- Wood Deck Screws
- Plywood
- Trim
- Nailer
- Brad Nails
- Caster Wheels
- Paint (I went with BEHR Lima Green Flat and Black)
- Hinges
- Carbon Hole Saw
- Kreg Pocket-Hole Jig
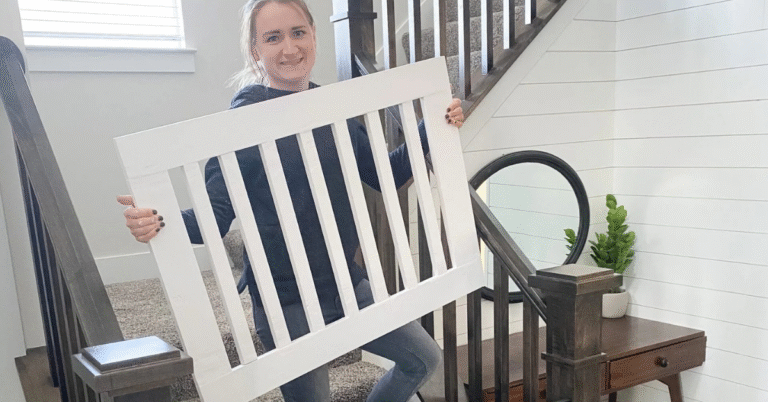
Step #1: Cut It Out
First up: wood cutting. I wanted the lemonade stand to be roomy enough for my kids to sit behind comfortably, with space for a pitcher, cups, and a little cash box. But it also needed to be compact and lightweight enough to move around and store when not in use. I kept those goals in mind as I was determining what cuts to make. I used my miter saw to trim the siding and 2x4s for the structure of our stand.
Step #2: Build the Base
Next, it’s time to build! I reinforced the siding by attaching the 2x4s to the back and side pieces with my Dewalt Drill and Driver and wood deck screws. I use the DeWalt drill on many of my DIY projects. Having the drill and driver combo in one tool is so handy.
I made the tabletop using plywood and added trim around the edges using my nailer and brad nails. The surrounding wood pieces were a simple detail, but they made a big difference. Not only does it give the stand a cleaner look, but it also protects little hands from splinters and sharp corners.
And since I wanted the kids to be able to set it up on their own, I attached caster wheels to the bottom.
Step #3: Brighten Things Up
After that, it was time to give this plain wooden stand a bright makeover. I chose Behr Lima Green Flat and Black to paint a playful striped design across the front of the siding.
The colors instantly gave the stand that cheerful, classic lemonade-stand vibe. And if your kids want to help, picking out colors and painting is a great way for them to participate!
Step #4: Add the Finishing Touches
To keep storage simple, I added hinges to connect the front and side panels. That way, when the stand isn’t in use, it tucks away easily in the garage.
Then, to give my little entrepreneurs some shade, I reached for my Dewalt Drill and Driver, adding a carbon hole saw to drill a hole in the tabletop for this adorable umbrella.
Step #5: Set Up, Sip, Repeat!
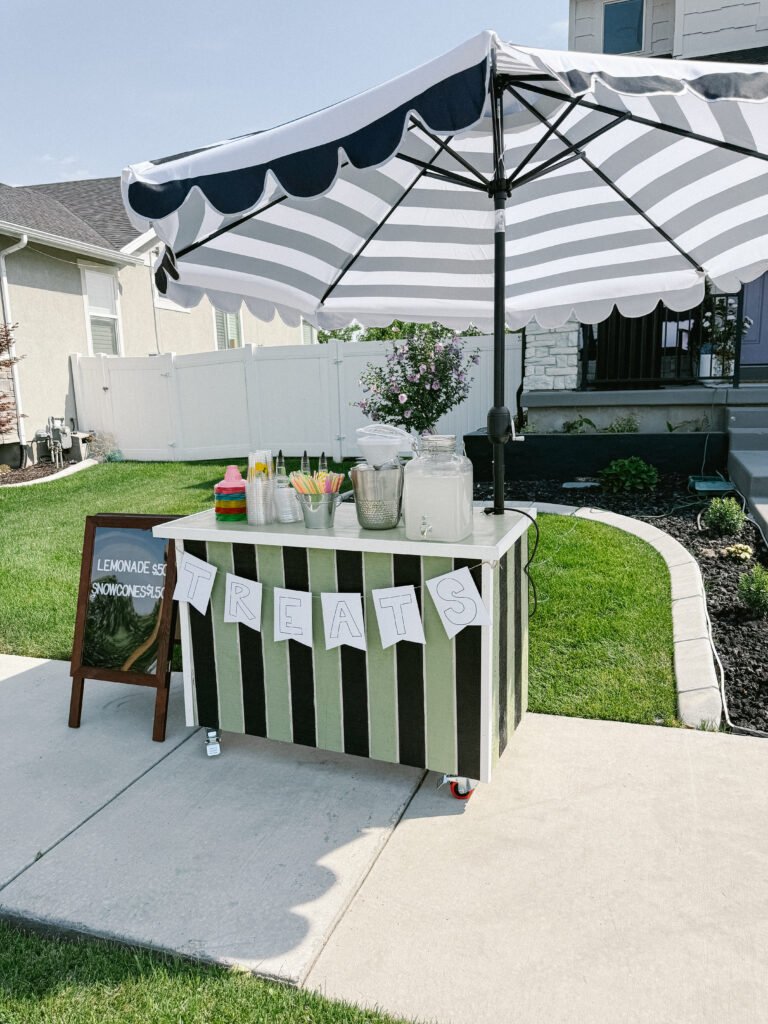
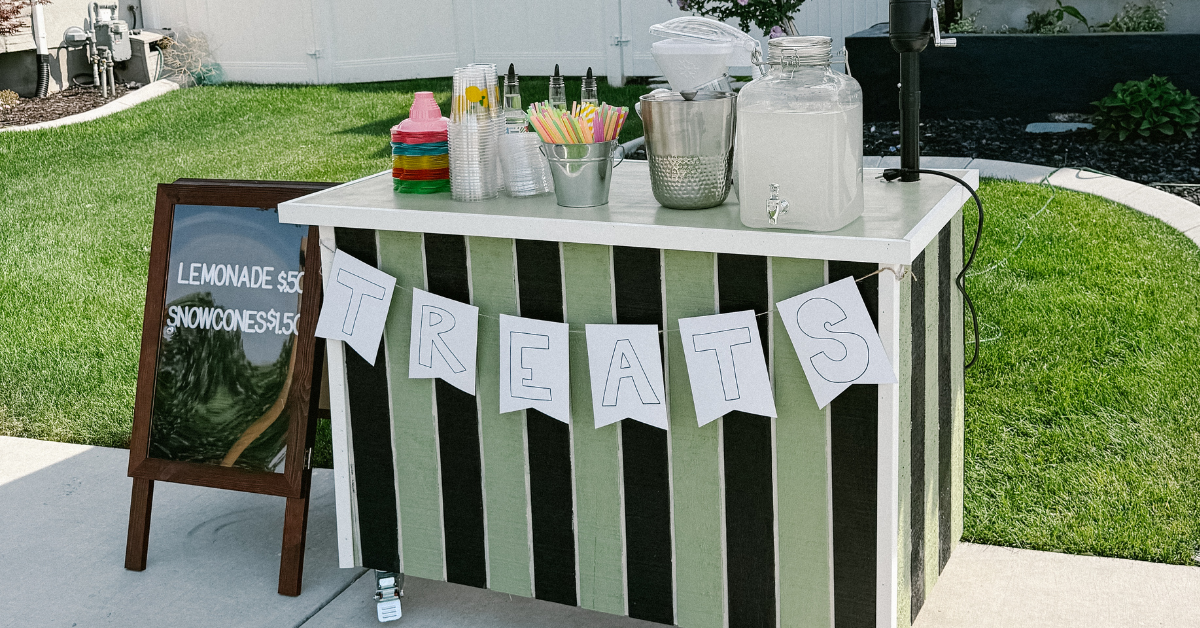
The final step is my favorite: setting up shop! We rolled the stand into the front yard and set up our felt letter board sign, listing our treats and prices. Small touches like that make all the difference, and I know we’ll get plenty of use out of that sign for future parties, playtime, and more.
After stocking the stand with lemonade and other goodies, the kids got right to work selling and serving their treats. We had the busiest house on the block in a matter of minutes! I see many more sunny afternoons (and lemonade refills) in our future!