Personalized Clay Stocking Tags for a Handmade Christmas Touch
If you’re looking for a holiday craft the whole family can get in on, these DIY clay stocking tags are perfect! They’re simple to make, look adorable on any mantel, and double as sweet, personalized gifts for grandparents, teachers, or friends. An easy and meaningful Christmas craft? Sign me up!
Note: This post contains affiliate links. I may earn a commission at no extra cost to you. Thanks for supporting my content! 🙂
Clay Stocking Tags Supplies:
- Rub N Buff Wax Metallic Finish
- Air Dry Clay (Here’s another option, too!)
- Alphabet Stamps
- Ribbon
- Bench/Dough Scraper
- Rolling Pin
- Stockings (These, these, and these are similar to mine!)
Step #1: Shape the Clay Stocking Tags
First up, grab a rolling pin and roll out the clay to be about 1/4 inch thick. Next, use a dough scraper to shape each clay stocking tag. (A craft knife or pizza cutter also works to mould the clay!)
After that, poke a hole in the top of the tags. This is where the ribbon will go when you’re hanging them on your mantle. I used a plastic straw to do this, but you could also use a pencil eraser, the round end of a pen… lots of household items will do the trick!
Step #2: Stamp the Letters
Time to label the clay stocking tags! I used these alphabet stamps to add each family member’s name to their tag.
Step #3: Paint on the Metallic Finish
Follow the drying instructions for the clay. Once it’s ready, you can paint on the Rub n Buff Wax Metallic Finish.
After that’s added, buff out the finish for added shine.
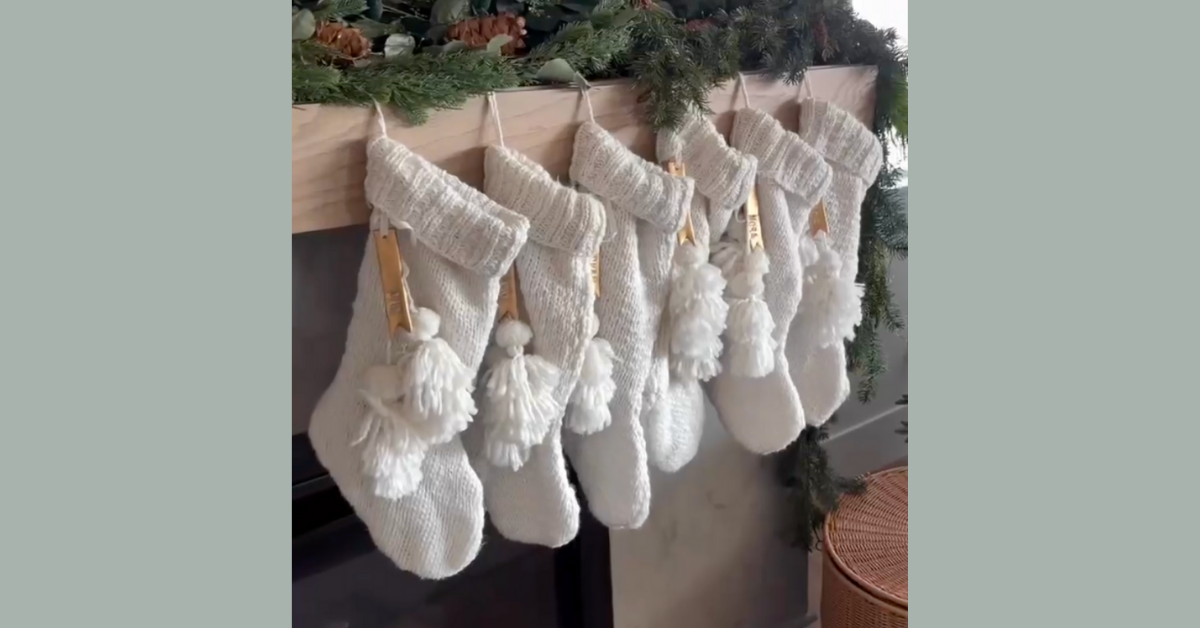
Step #4: Add Ribbons and Hang Your New Clay Stocking Tags
Finally, thread the ribbons through the hole at the top of each stocking tag and tie them to your stockings. Now Santa won’t have any trouble remembering whose is whose. 😉
If you’re looking for other family-friendly Christmas crafts, check out the tutorials for pipe cleaner wreaths and a DIY gingerbread village! Plus, stay tuned for the other projects in my 25 Days of Christmas DIYs series!
Follow along for more DIYs and fun at…