DIY Ghost Art: The Perfect Minimal Halloween Decoration
This ghost art *might* be the easiest Halloween decor project I’ve ever done! You only need five supplies and about an hour (or less!) of time, making it the perfect girls’ night craft or kids’ project. Here’s how you can make your own spooky ghost artwork!
Note: This post contains affiliate links. I may earn a commission at no extra cost to you. Thanks for supporting my content! 🙂
Ghost Art Supplies:
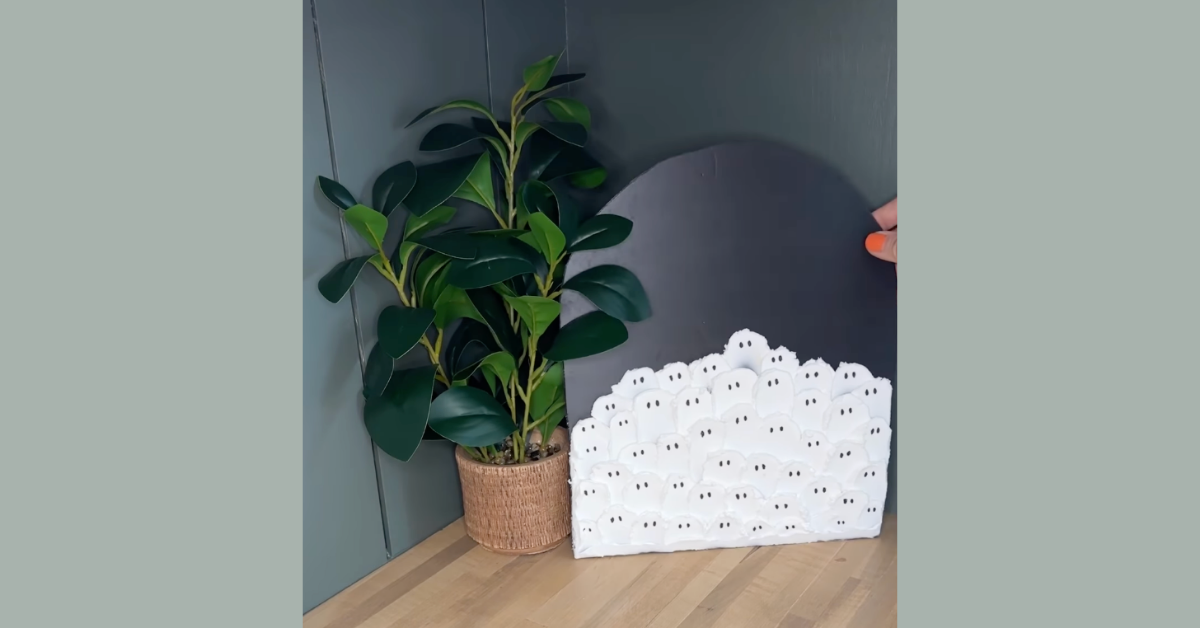
Step #1: Cut an Arch in the Board
This first step is optional, because a rectangular board would also look just as cute! However, I wanted my ghost art to be in an arch shape. Since the foam board is pretty thick, I used electric scissors to slice through it. You could also use a box cutter!
Step #2: Make the Ghosts
Second, scoop a good amount of spackle onto your icing spatula and drag it down the board to form your ghosts. You can make them as short or tall as you like. This technique works perfectly because it naturally leaves more spackle at the top (the ghost’s head) and thins out toward the bottom. Just don’t make each stroke too thick, or the spackle will take a long time to dry.
After finishing your first row of ghosts, start a second row, slightly overlapping the bottoms of the first. This layering creates the look of a gathered ghost crowd and adds a really cool textured look from the spackle.
Continue until you’ve reached the bottom of the board. I was able to fit about five rows of ghosts, but it depends on the size of your board and ghosts.
Step #3: Add Faces
Once your spackle ghosts are dry, it’s time to add faces! Just grab a permanent marker and draw their eyes. You can give each ghost a different expression to add some extra personality, or do a more uniform look.
That’s it! You’re all done with your ghost art.
And with that, your DIY ghost artwork is complete! I love when a project is low-effort and high-reward (especially after the more extensive outdoor Halloween decorations I’ve been making). Be sure to tag me on Instagram if you make your own!

Follow along for more DIYs and fun at…