How to Decorate a Christmas Tree
The past few years, I’ve had a hard time getting into the Christmas spirit. Maybe it’s the nonstop schedule—kids’ activities, family gatherings, shopping lists, or just trying to balance the magic of the season with remembering what it’s really all about. Honestly, it’s probably a mix of all of it!
This year, I decided something needed to change. I want to feel the joy and excitement again. So, I’m doing 25 Days of Christmas DIYs! I’m so excited to have you join me as I share these new crafts, projects, and tutorials leading up to Christmas. First up: how to decorate a Christmas tree!
Note: This post contains affiliate links. I may earn a commission at no extra cost to you. Thanks for supporting my content! 🙂
How to Decorate a Christmas Tree Step #1: Start with the Basics
Like most DIY projects, it all starts with the foundation. In this case, that means getting your tree prepped!
If you have a real tree, you can simply set it up and add string lights. If you have an artificial tree, take it out of the box, set it up, and fluff up all the branches. Make sure all the lights work (this step is crucial to do before you add the ornaments. Trust me on this one).
When it comes to lighting, go with what makes you happiest. Warm or cool, white or colored, still or twinkling; there’s no wrong choice. And if your family can’t agree on which type is best, I say set up multiple trees. 😂 Or take turns each year. It keeps things fun!
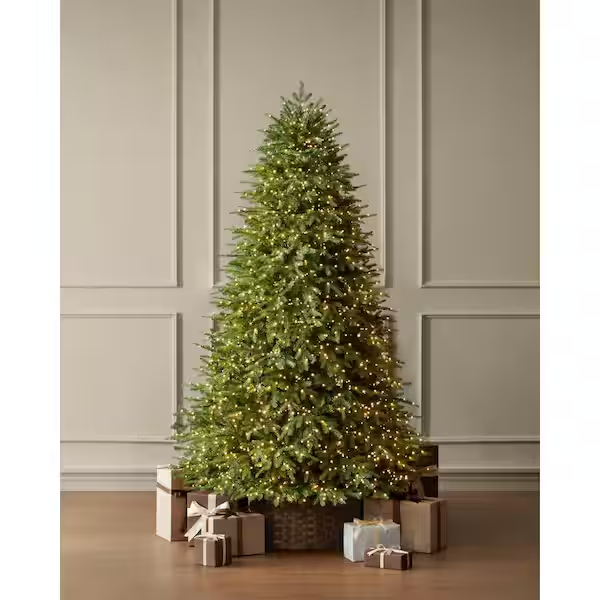
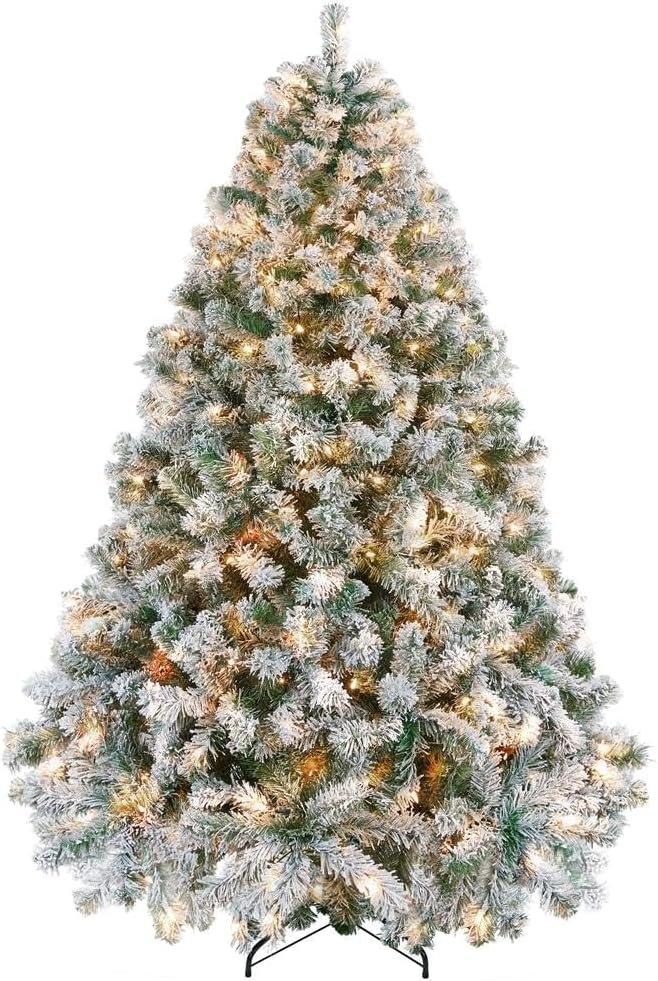
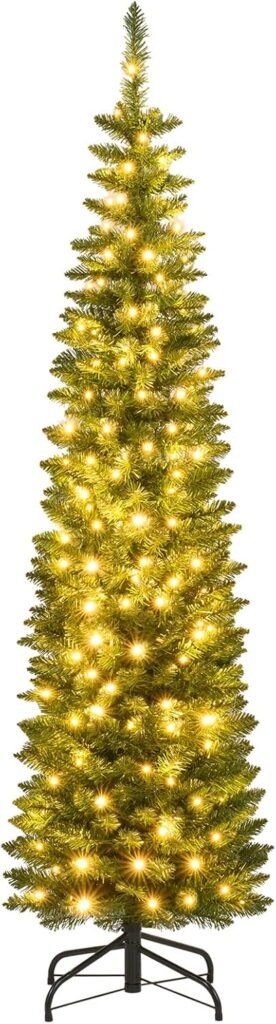
Shop Christmas Trees
Step #2: Add Base Layers for Interest
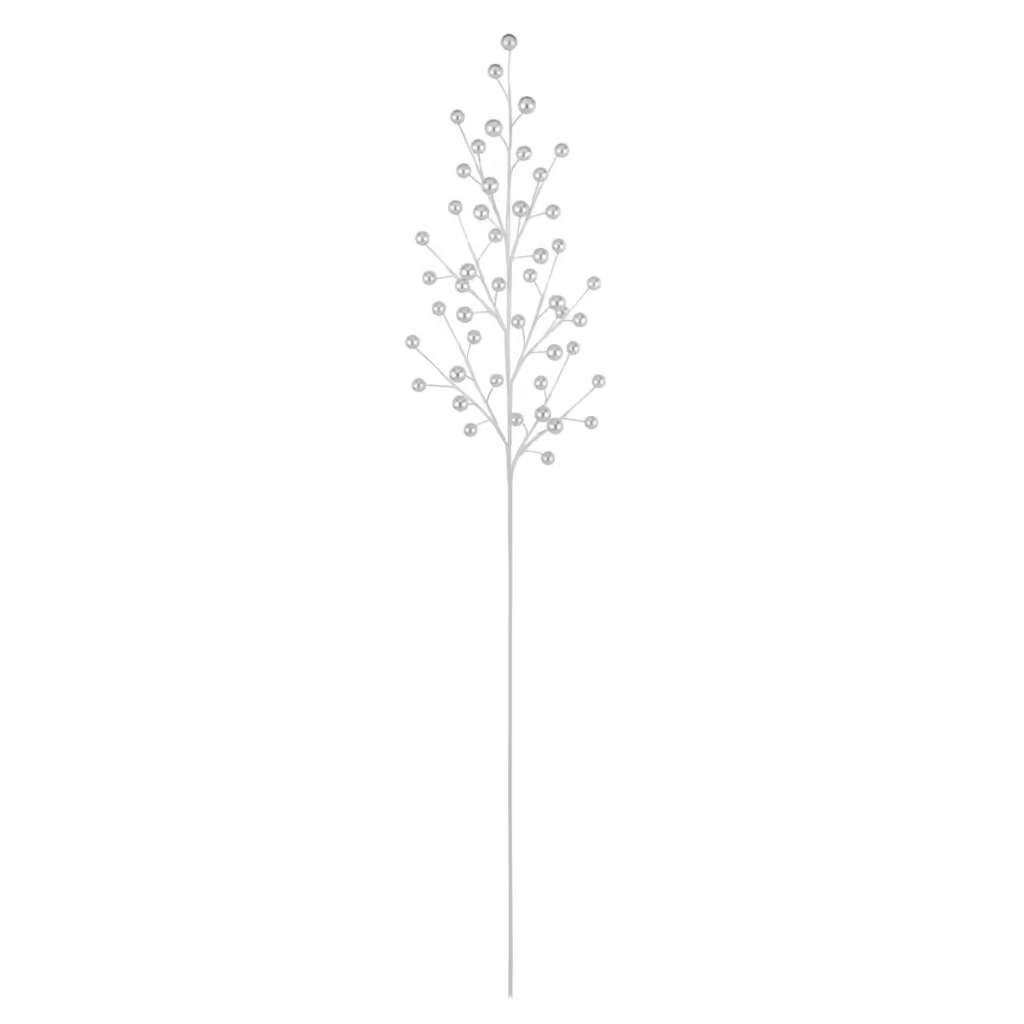
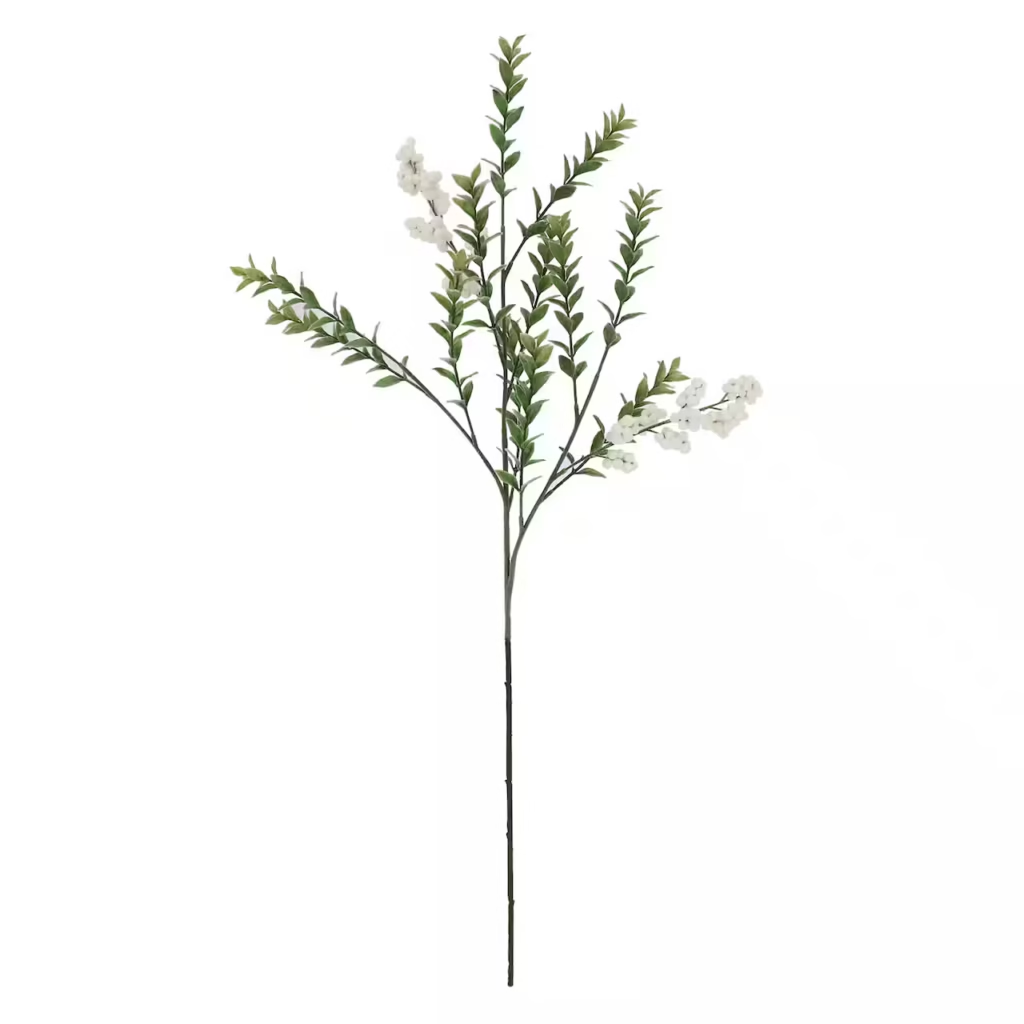
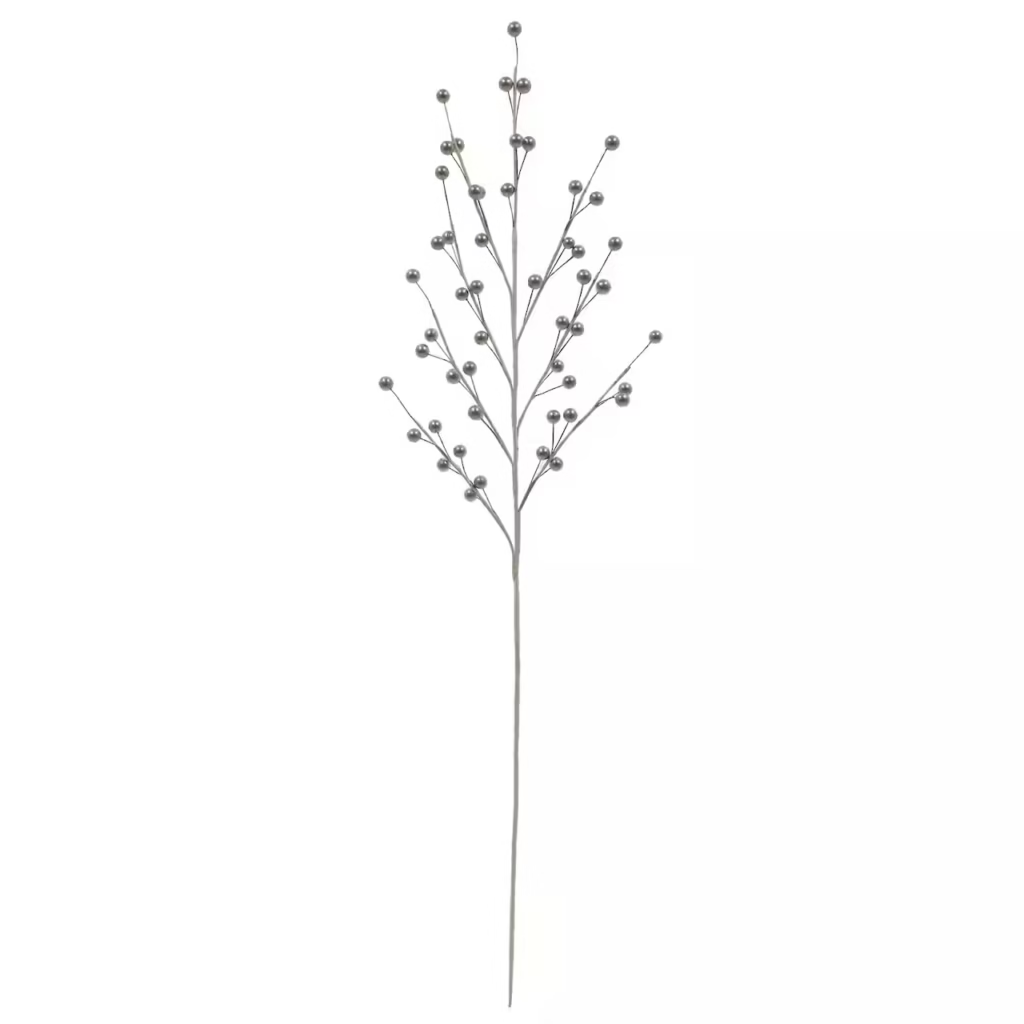
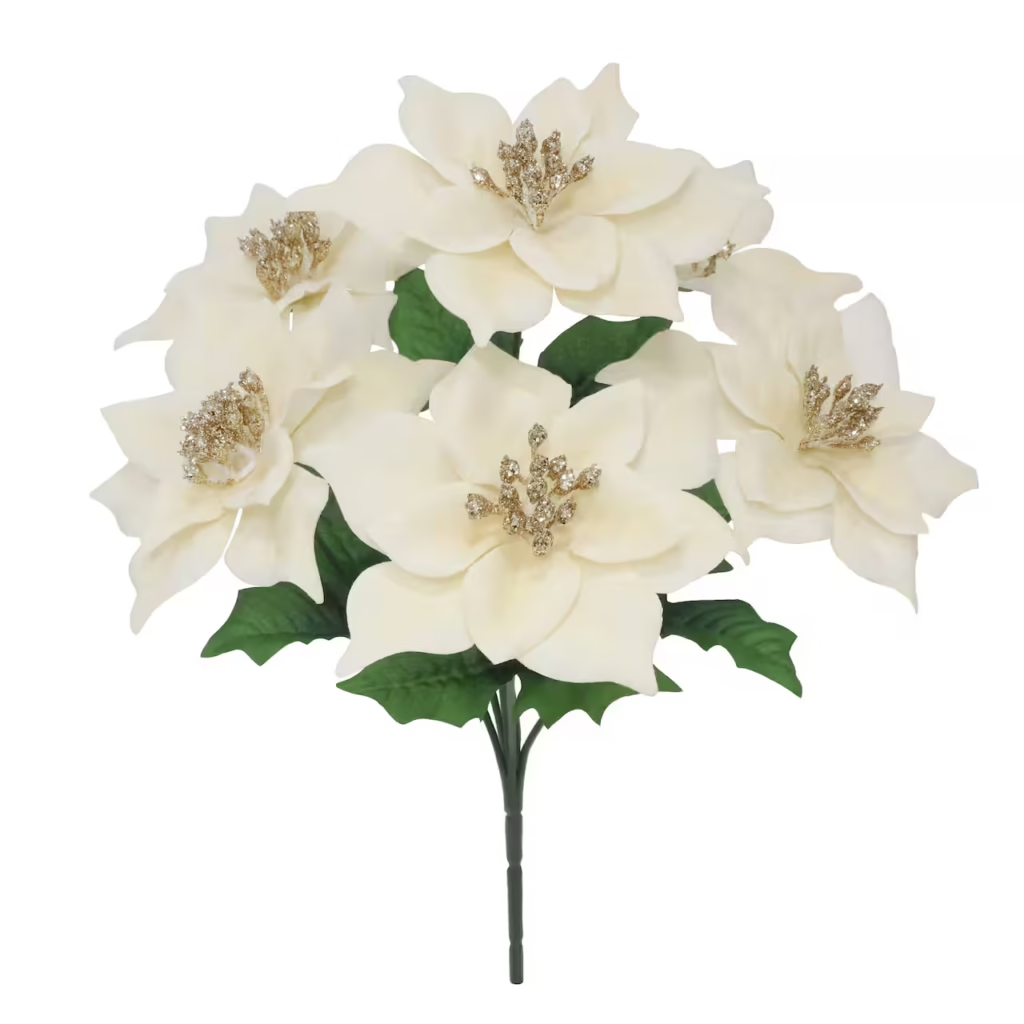
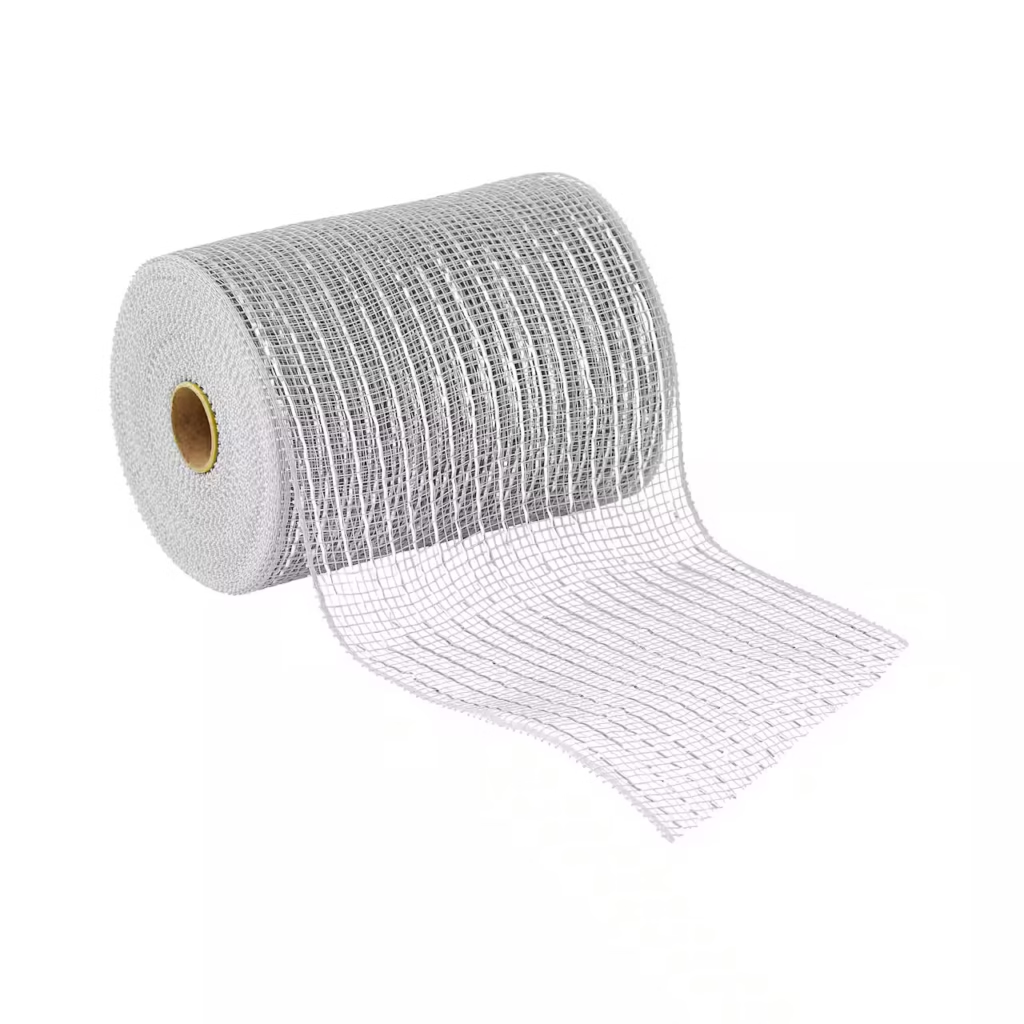
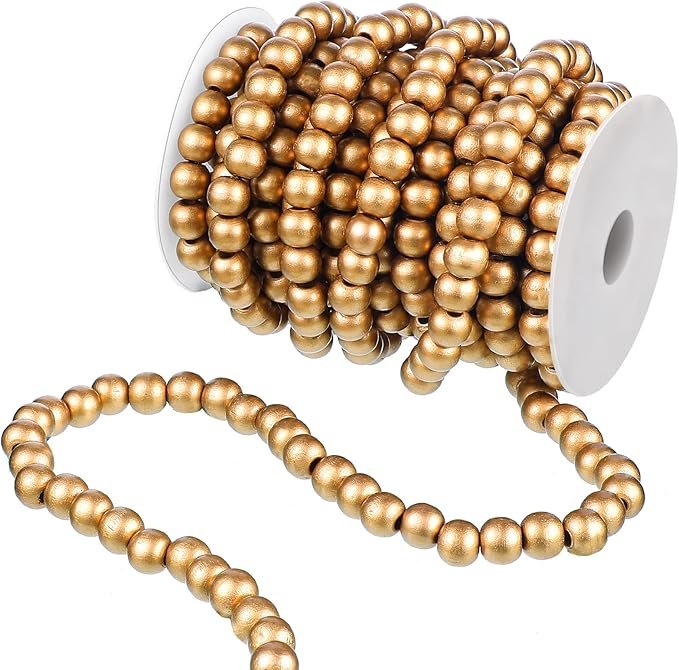
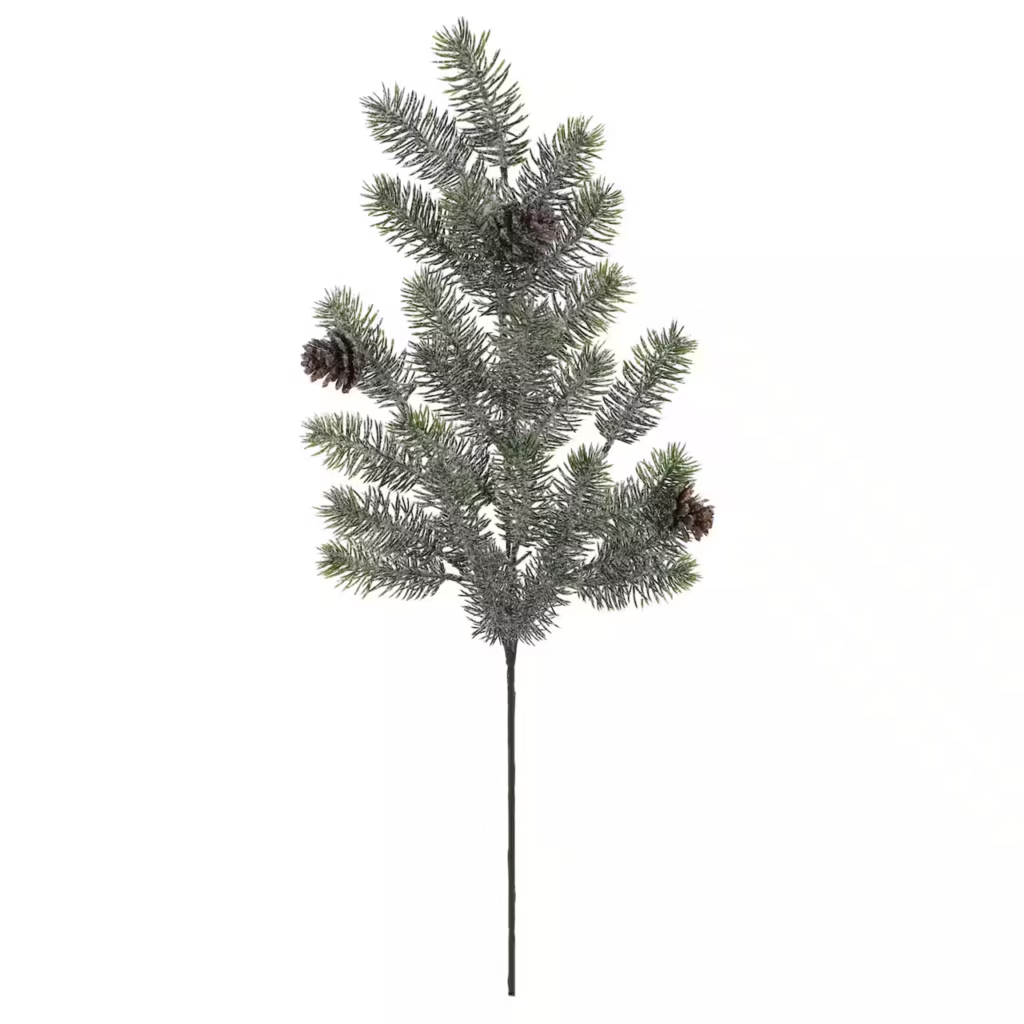
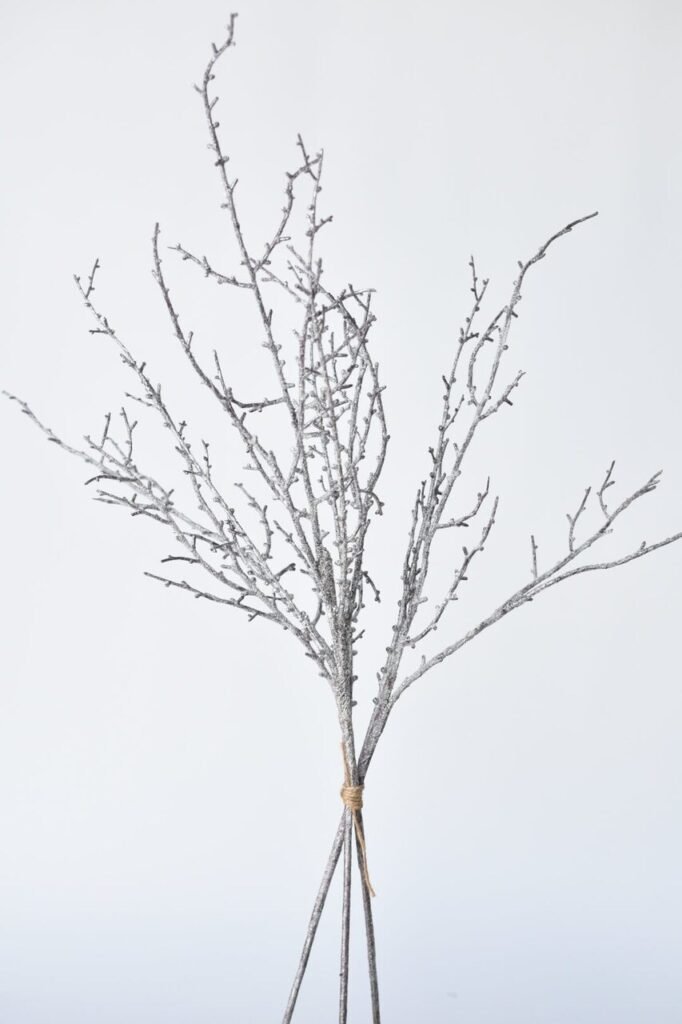
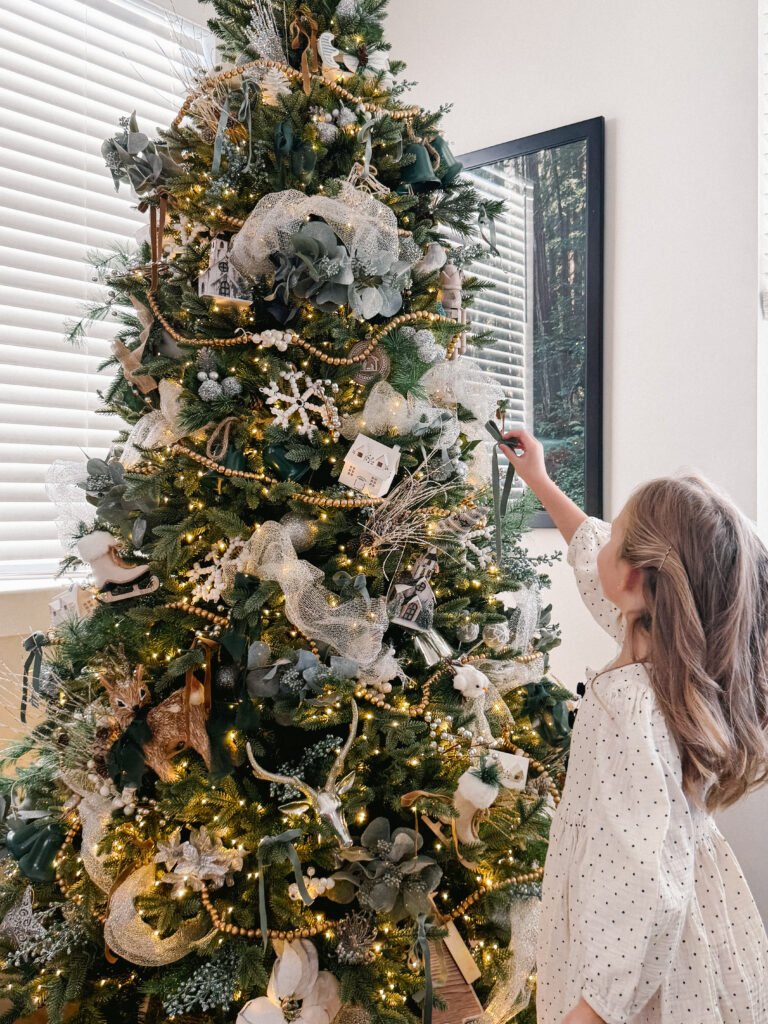
Time to start the fun part: putting on the ornaments and garlands! I find it really helpful to set everything out and work from there, adding base layers like stems, berries, ribbons, and beads one step at a time.
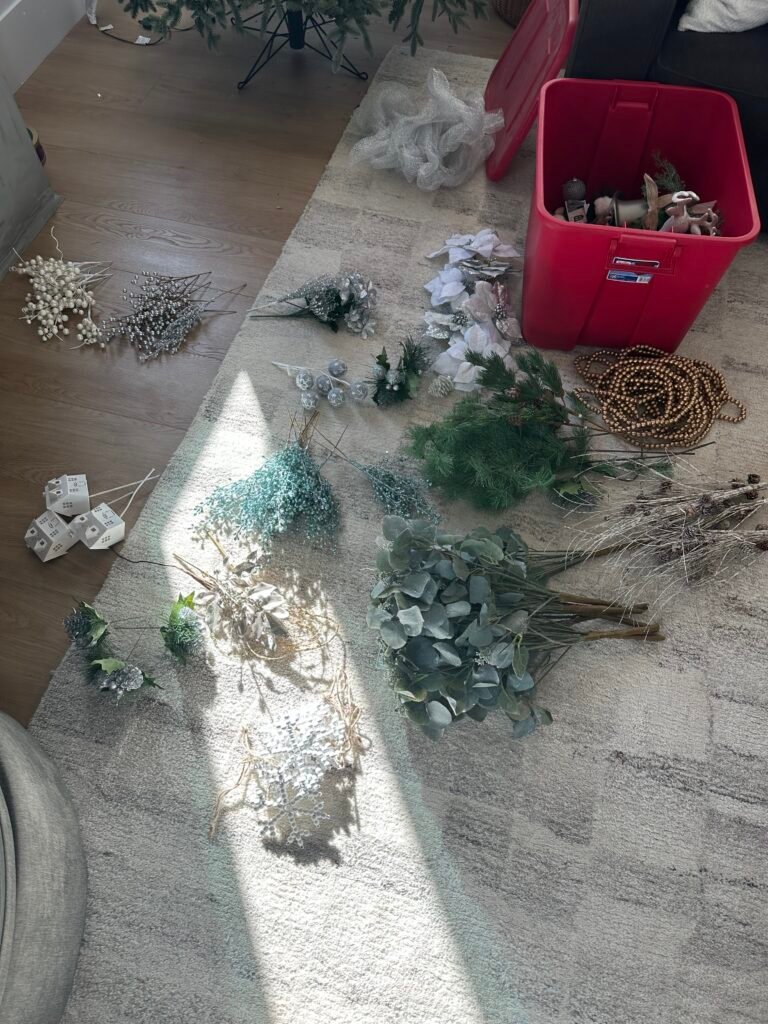
Shop Base Layers
When placing them on the tree, it’s important to have varying depths. Adding ornaments, picks, and garlands closer to the stem, the middle, and the branch tips helps your tree look beautiful and balanced from all angles. Which brings us to:
Step #3: Create Balance with Color
Now that you’ve added the initial layers, it’s time to give it some variety! If you haven’t seen the social media videos about your husband or kids placing two similarly-sized and colored ornaments right next to each other, you’ve probably lived it. Even though I love the help, distributing the colors evenly keeps everything balanced. Be sure to step back a few feet every so often to get a full picture of how it’s all looking! (It’s easier than redoing it once everything is up, haha.)
Step #4: Mix Finishes and Textures
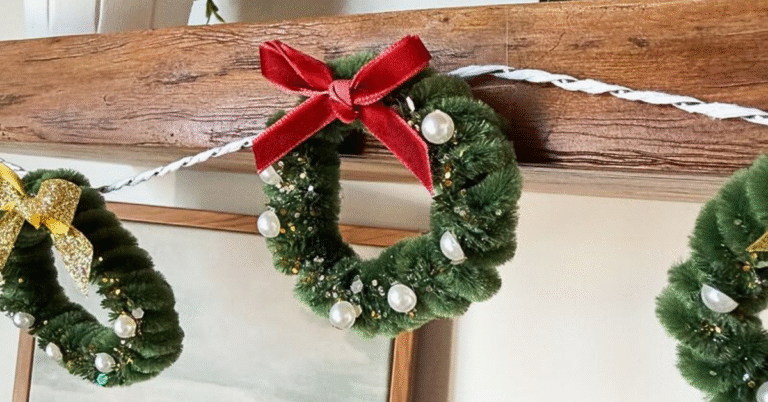
We’ve collected a variety of ornaments over the years, and I want to showcase as many of them as I can! I love a little variety, as long as there’s a visible underlying theme that ties it all together. In this case, that means combining rustic motifs with subtle shimmers and modern farmhouse touches.
Using different textures is another one of my favorite ways to add visual interest. I mixed in velvet bows to contrast with the mesh ribbon and wood beads I added previously.
Shop (Similar) Ornaments
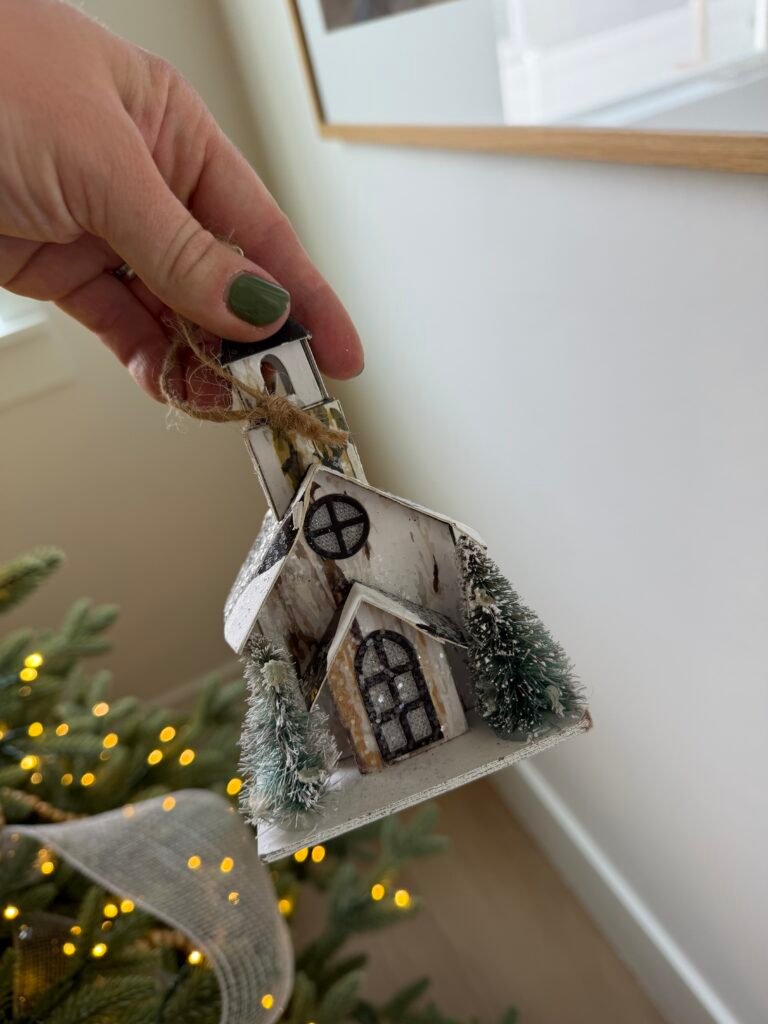
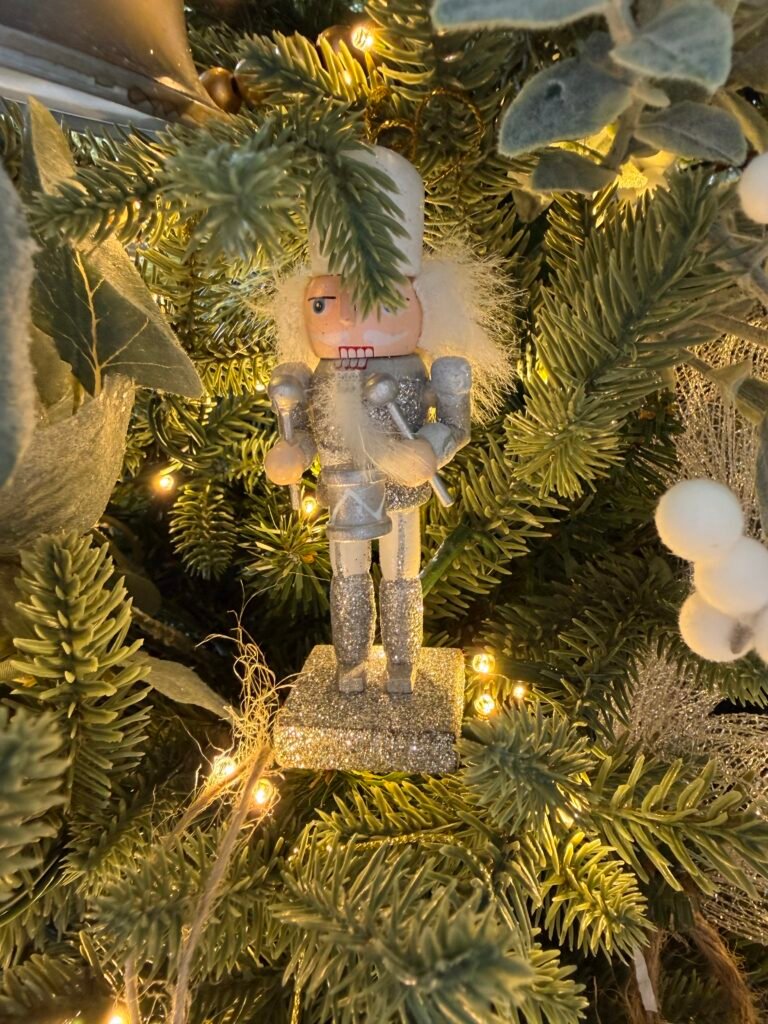
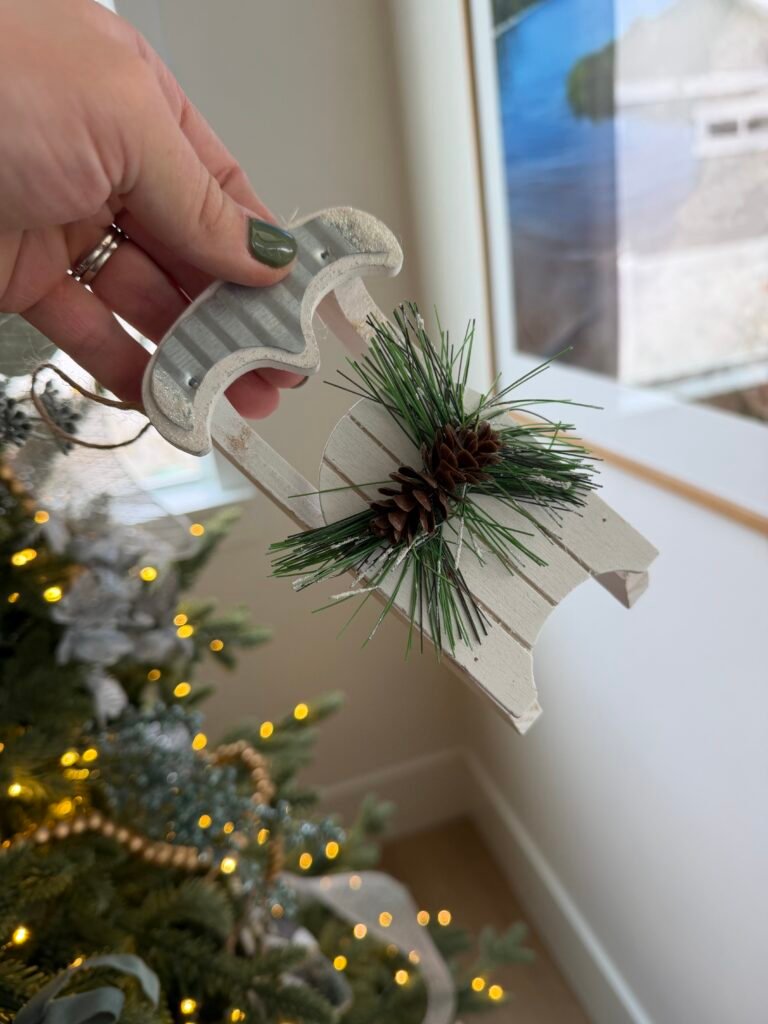
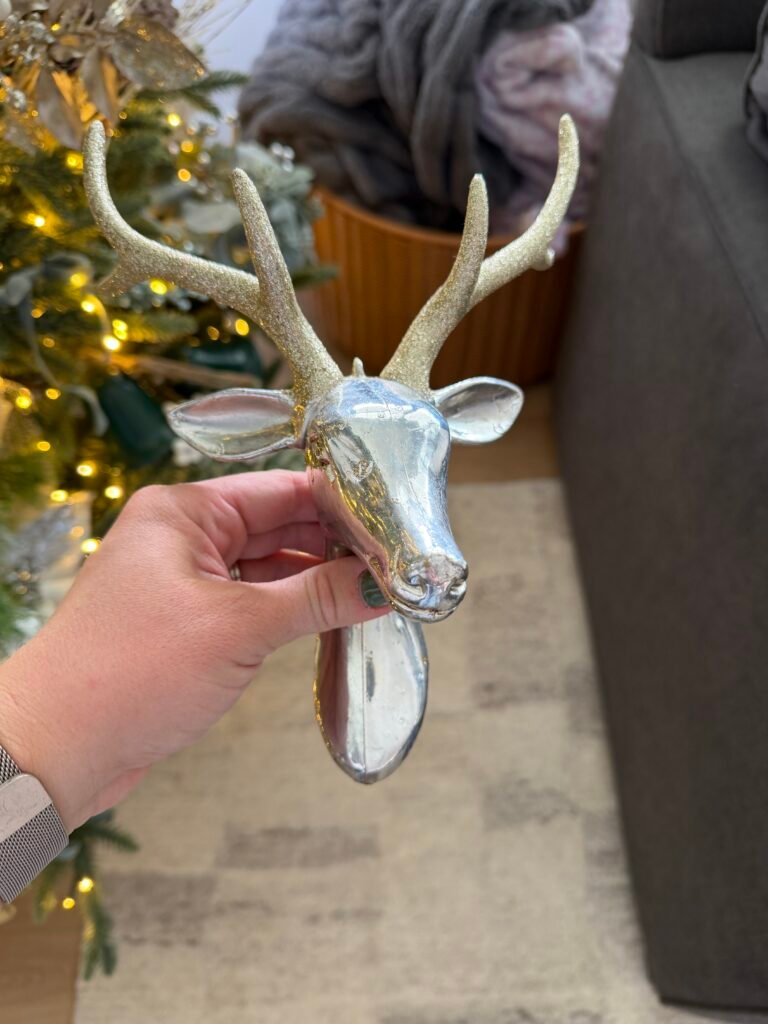
These are all ornaments I purchased in years past! I’ve linked the most similar option I could find below each picture. ❤️
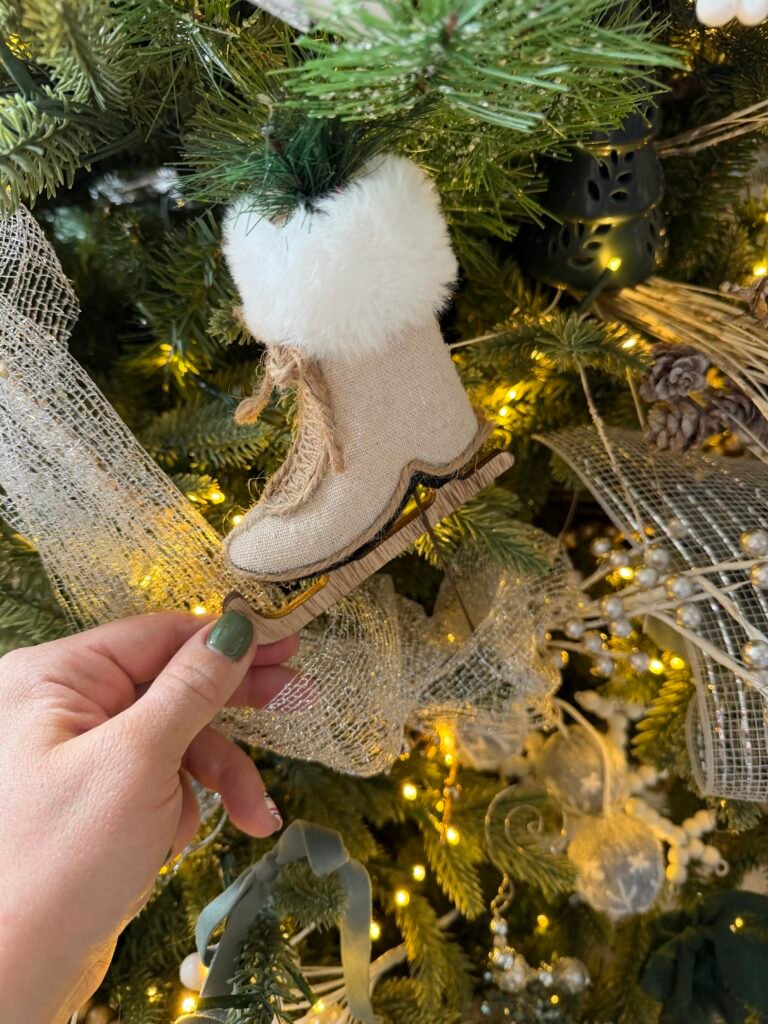
Skate Ornament (Similar)
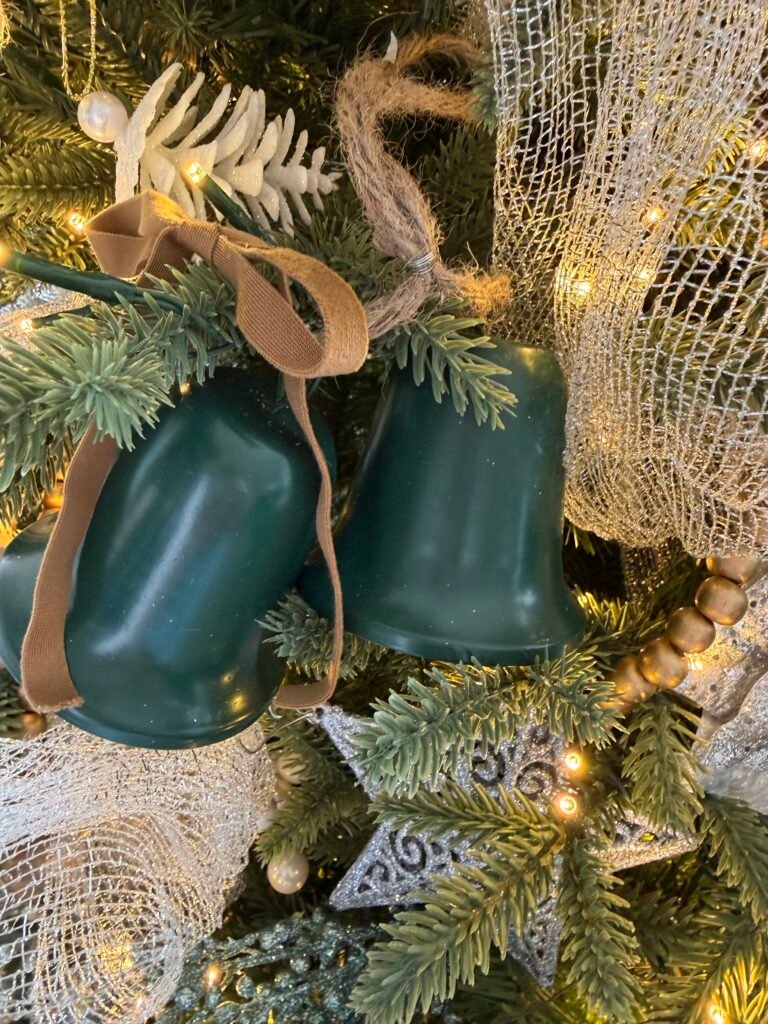
Bell Ornament (Similar)
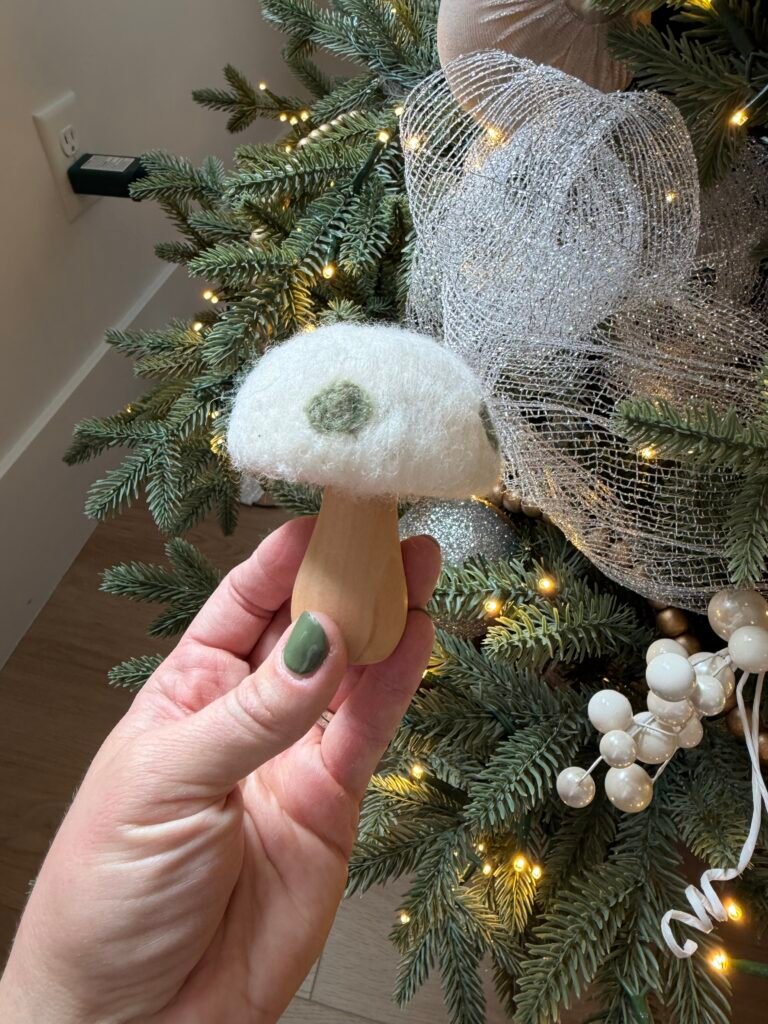
Mushroom Ornament (Similar)
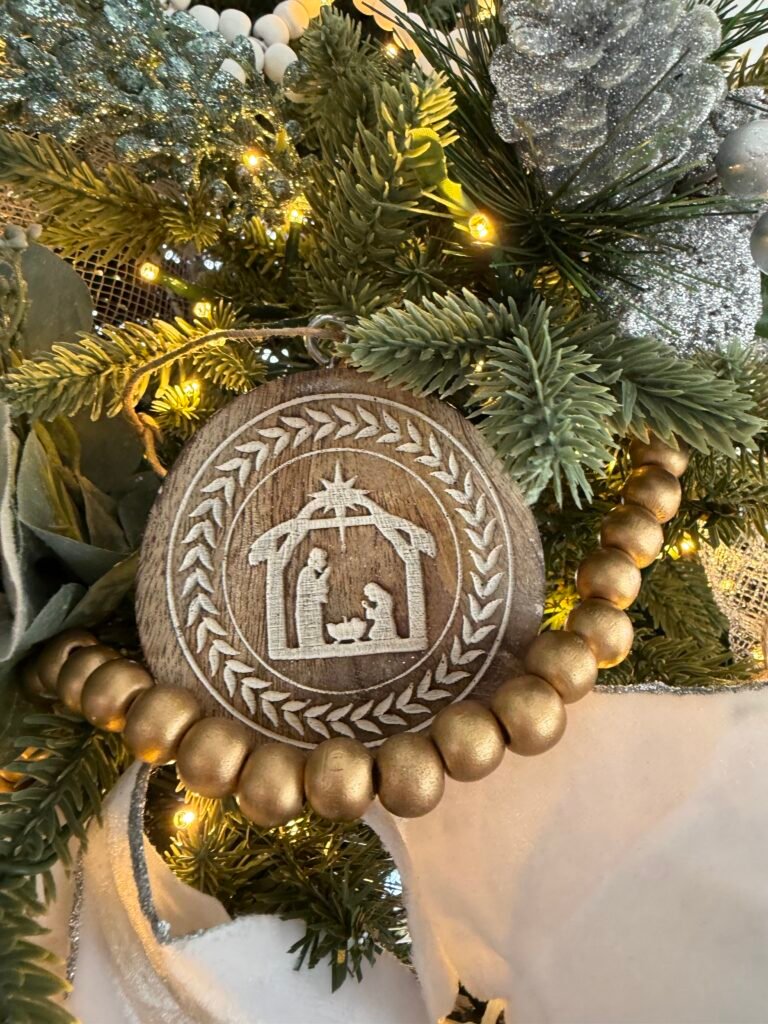
Nativity Ornament (Similar)
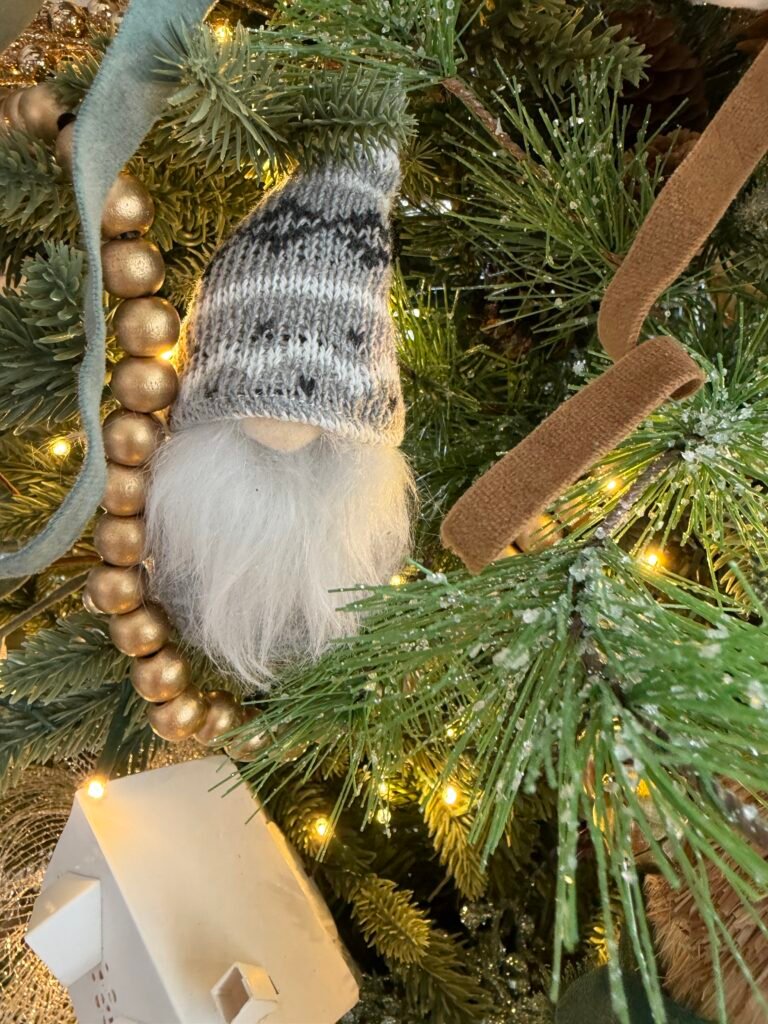
Gnome Ornament (Similar)
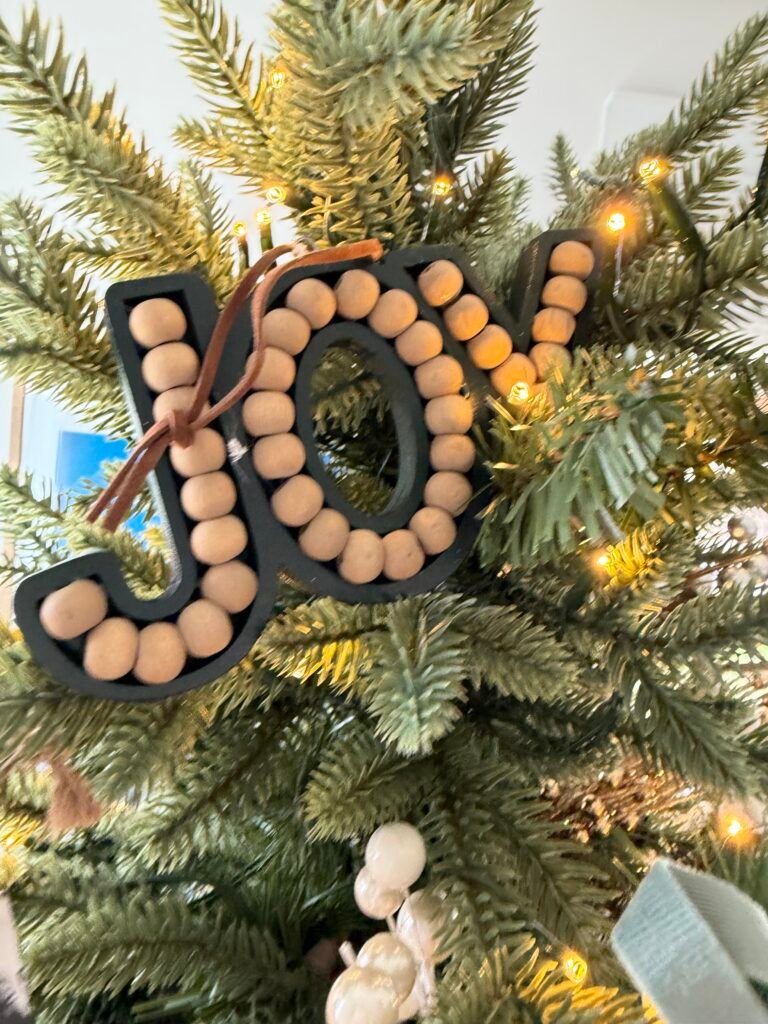
Joy Ornament (Similar)
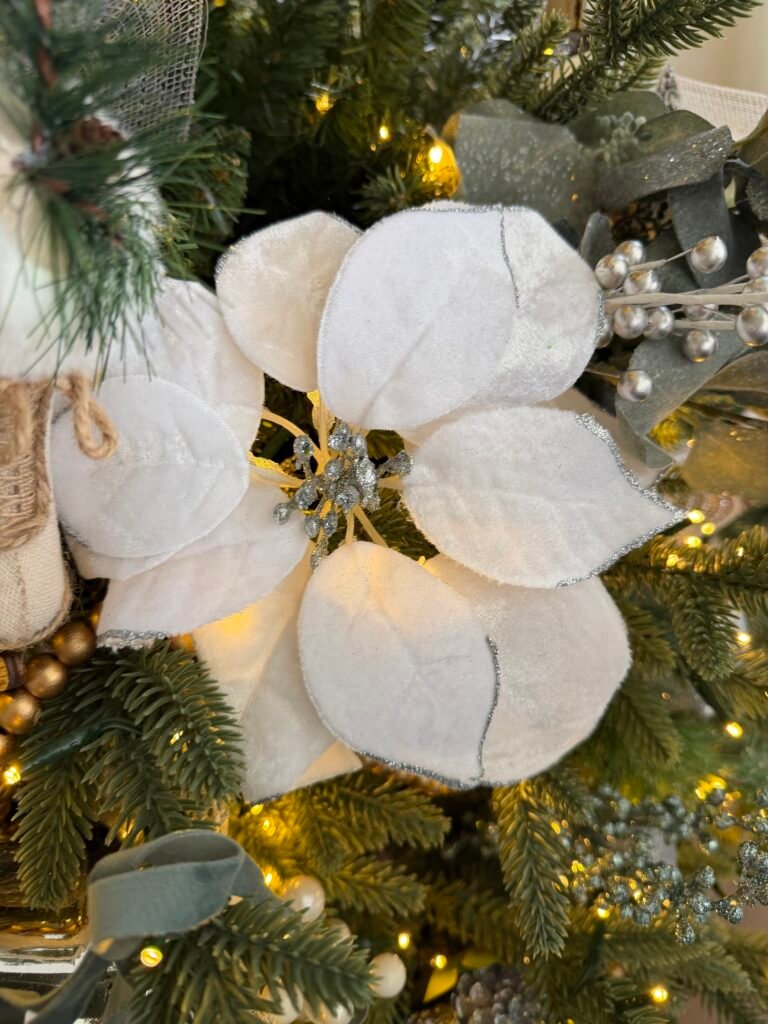
Poinsettia Clip (Similar)
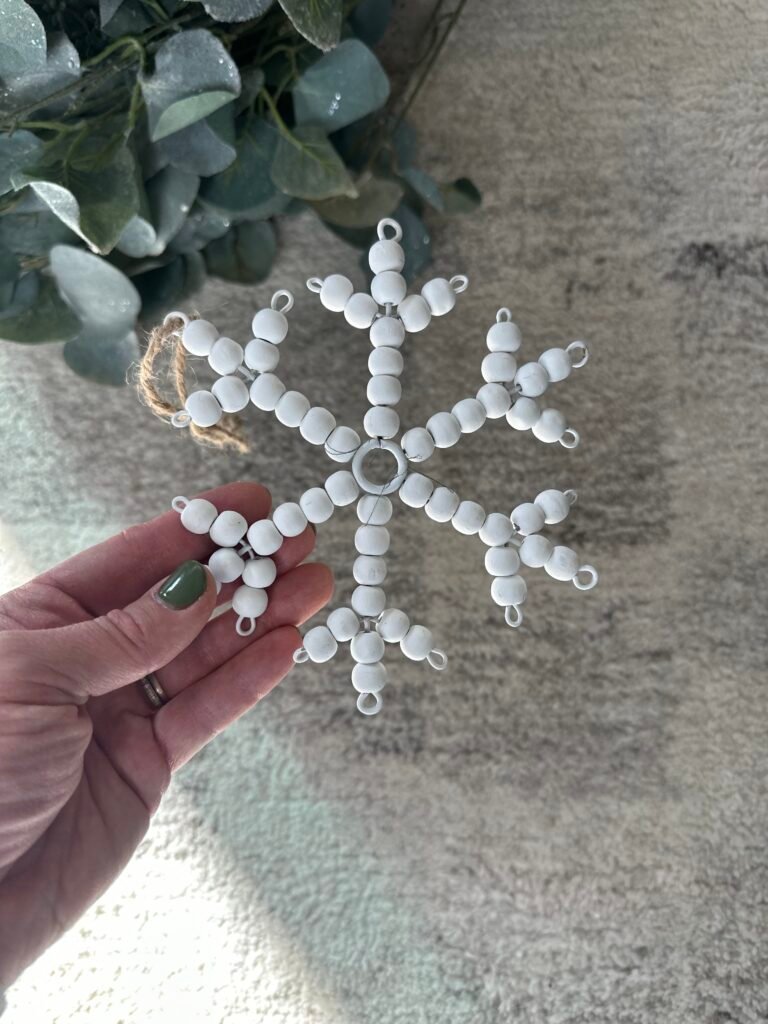
Wood Snowflake Ornament (Similar)
Step #5: Make It Yours
The most important advice I can give you about how to decorate a Christmas tree is to make it yours! These steps are great, but it ultimately comes down to your taste and traditions. So add on the glitter-covered preschool crafts and the salt-dough Rudolphs. One of the best parts about the holidays is the nostalgia, love, and coziness!
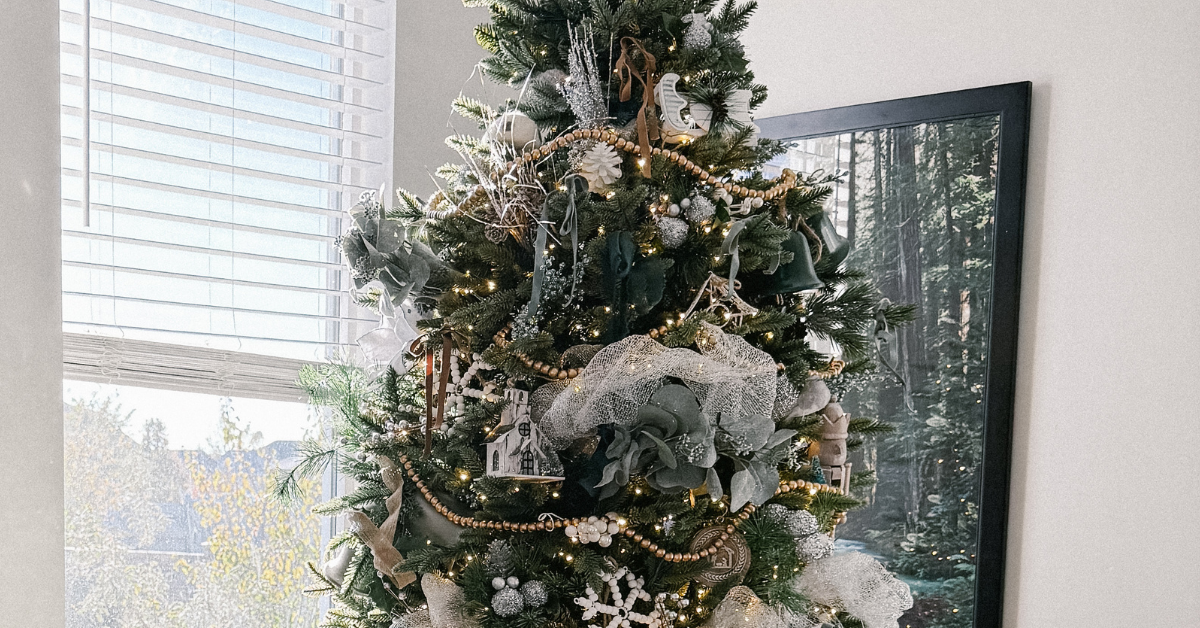
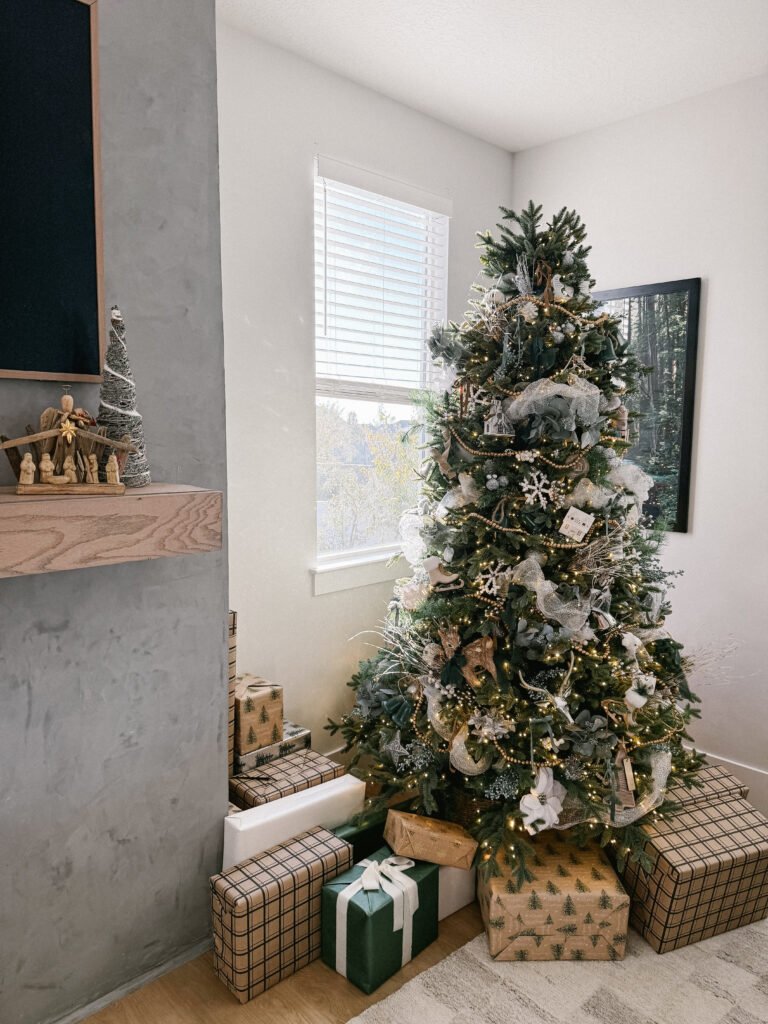
Our Christmas Tree
Ta da! Here’s our completed Christmas tree. I am so happy with how it turned out! And if you’re like me and want to match your wrapping paper to your tree, you can find what I used here!
Do you change up your Christmas tree each year, keep it consistent, or just add a few subtle tweaks? Let me know! And be sure to follow along on Instagram to keep track of my 25 Days of Christmas DIYs!
Follow along for more DIYs and fun at…